

Media Wall Slat Panels With Acoustic Felt Backing - 2400mm x 600mm x 15mm
Sold individually. Each upright panel is 600mm wide and covers 1.44m².
Delivery in: 1 Week.
Lead times may vary over Black Friday and Christmas, but we’ll do our best to deliver your item within the timeframe shown.
Buy more, save more
Your panel price improves with quantity
Choose a quantity below or use the quantity selector. Your saving updates automatically and is applied in your basket.
Your quantity discount is applied automatically in your basket.
Full specifications & certifications
Create a warm, textured feature wall with Wood Effect Veneer slat panels and acoustic felt backing. Suitable for media walls, living rooms, home offices and other indoor feature walls.
Sold individually: each quantity ordered contains one 2400mm × 600mm panel, covering 1.44m² before cutting and wastage.
Key features
- Wood Effect Veneer applied to MDF slats
- Acoustic felt backing
- 25mm-wide slats with 15mm gaps
- Can be cut to suit sockets, edges and wall dimensions
- Suitable for indoor use
- Low-maintenance, wipe-clean finish
Panel specifications
Acoustic performance
The felt-backed slatted surface helps reduce reverberation within a room. When installed on battens with mineral-wool insulation in the cavity, the complete installation can achieve up to Class A sound absorption under ISO 11654. Actual performance depends on the installation method and surrounding construction.
Certifications
- FSC® certified: CO19769
- MDF meets the E1 formaldehyde-emissions standard
Installation and care
- Plan the layout and align the slats before fixing.
- Fix using suitable screws or construction adhesive for your wall construction.
- Panels can be cut to size using suitable woodworking tools.
- Allow approximately 15% extra for cuts and wastage.
- Dust regularly and wipe with a lightly damp cloth when required.
Before you order
Choose your finish using the live product selector. As this product uses Wood Effect Veneer, natural variation in colour and grain should be expected.
Delivery Information
Expected delivery: 1–2 weeks.
- Standard Mainland UK Delivery: £89 specialist courier delivery, complimentary on orders over £1,500.
- Regional Delivery: £199 applies to Scotland, Cornwall and Devon. We do not deliver to non-mainland UK destinations, but can deliver to a port for you.
- Before ordering: check the wall width, access and chosen finish carefully. Please review our returns policy before cutting, fixing or installing panels.
Media Wall Slat Panels With Acoustic Felt Backing - 2400mm x 600mm x 15mm

Texture, warmth and quieter spaces
Turn a plain wall into a considered feature
Vertical timber slats bring rhythm and warmth to media walls, bedrooms, hallways and workspaces. Each panel combines a Wood Effect Veneer face with an acoustic felt backing for a refined finish that also helps manage sound.
Natural timber varies in grain and tone. That variation is part of the character of Wood Effect Veneer, so adjacent panels may not be identical.
Plan before you order
How many panels do I need?
Measure the total wall width in millimetres. Each panel covers 600mm of width when installed upright; the calculator rounds up to a whole panel.
For walls with corners, sockets or complex cuts, consider allowing an additional panel. Always check your final measurements before ordering.
Not sure? Call us: 0115 647 7062
Made in layers
Designed to look good up close
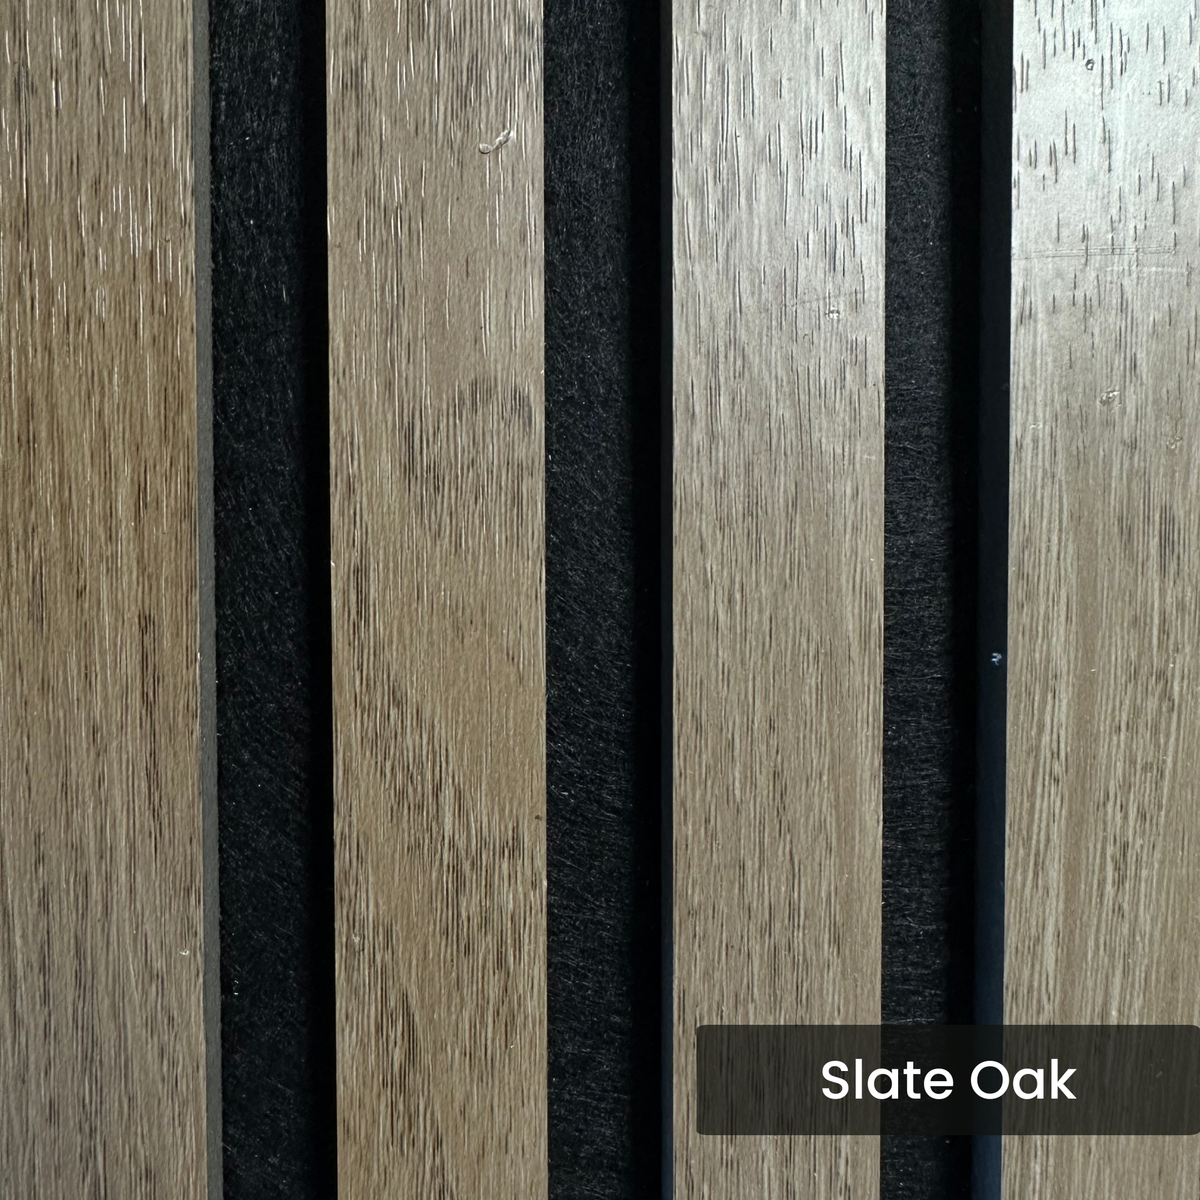
The face is Wood Effect Veneer over a stable MDF core, set against a dark acoustic felt backing. The result is a clean, architectural surface with depth between every slat.
- Panel size
- 2400 × 600 × 15mm
- Coverage
- 1.44m² per panel
- Slat and gap
- 25mm slat, 15mm gap
- Materials
- Wood Effect Veneer, MDF and acoustic felt

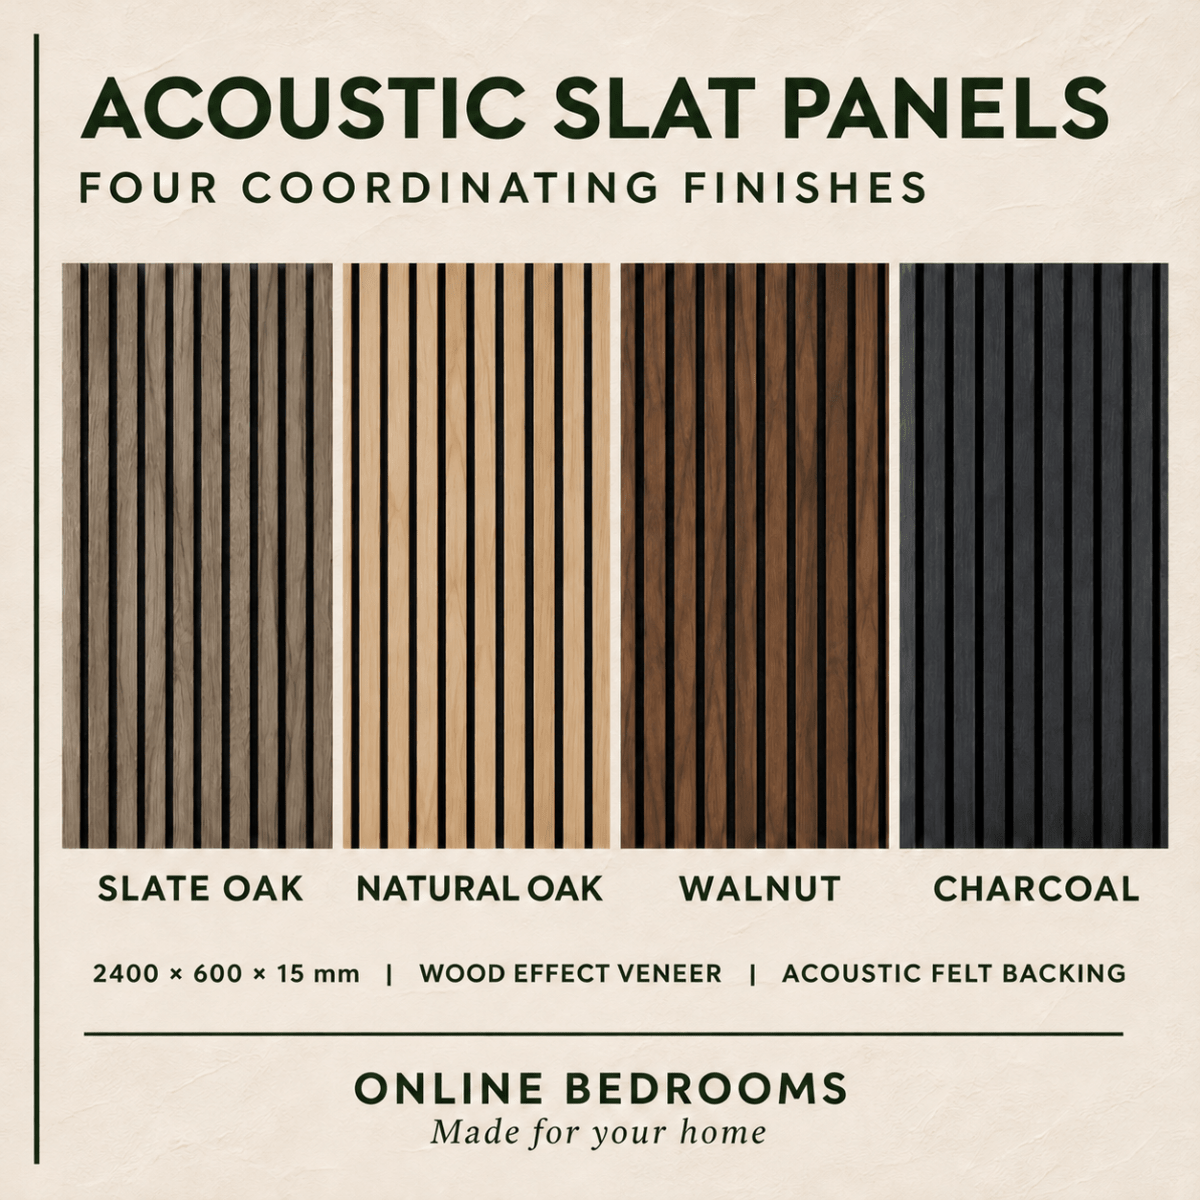
Four considered finishes
Choose the tone for your room
Select your finish above before adding panels to your basket. Screen colours vary, so use the names and product photography together when deciding.
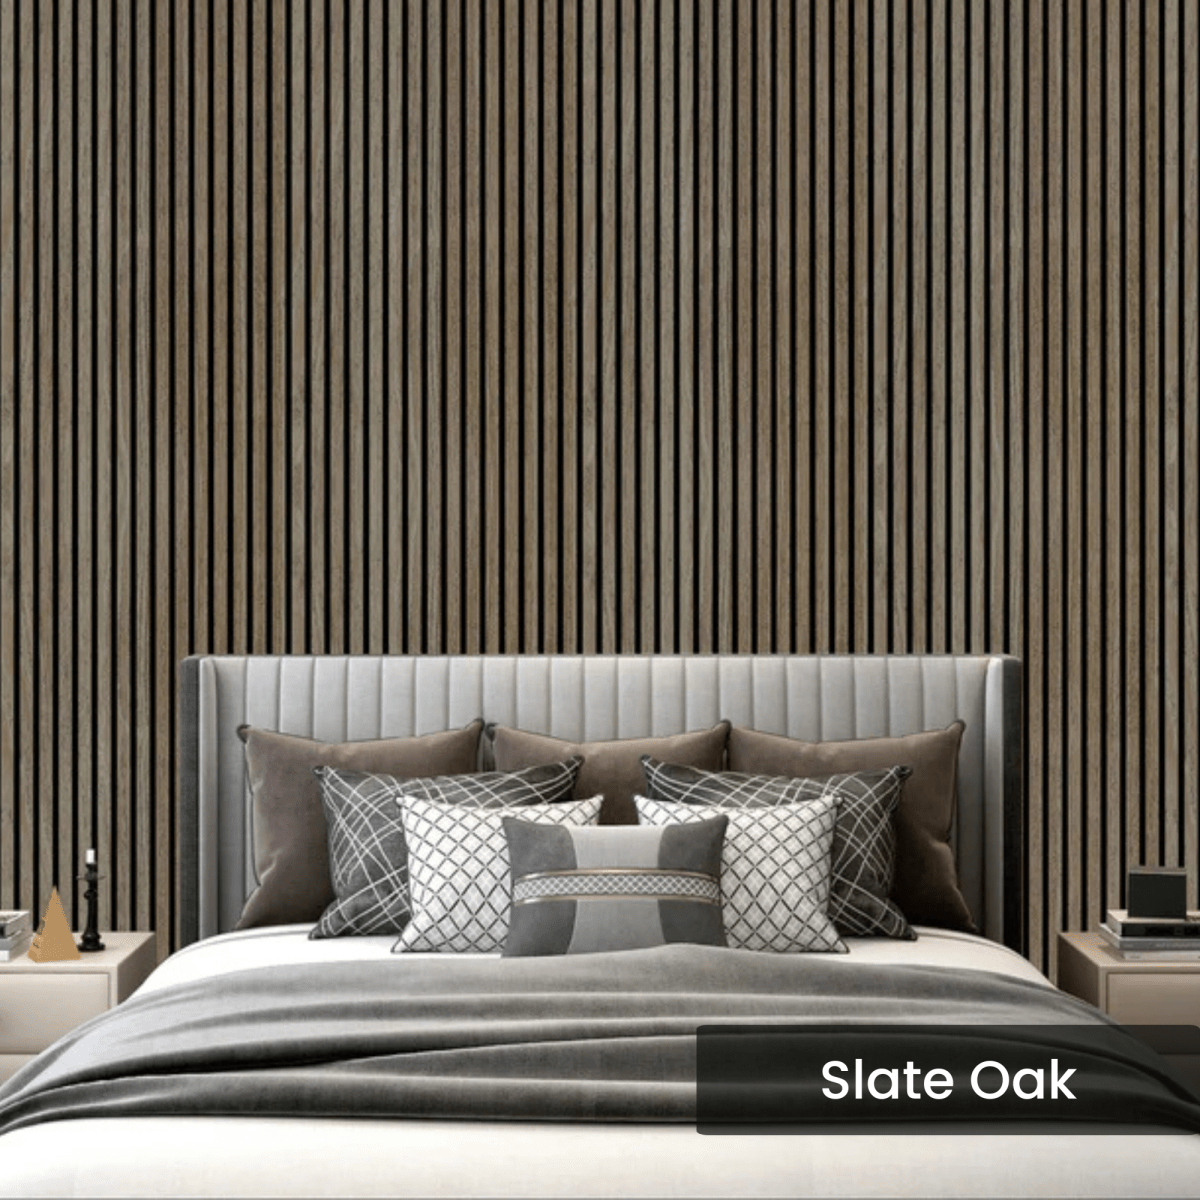
Slate Oak
A muted, contemporary oak tone.
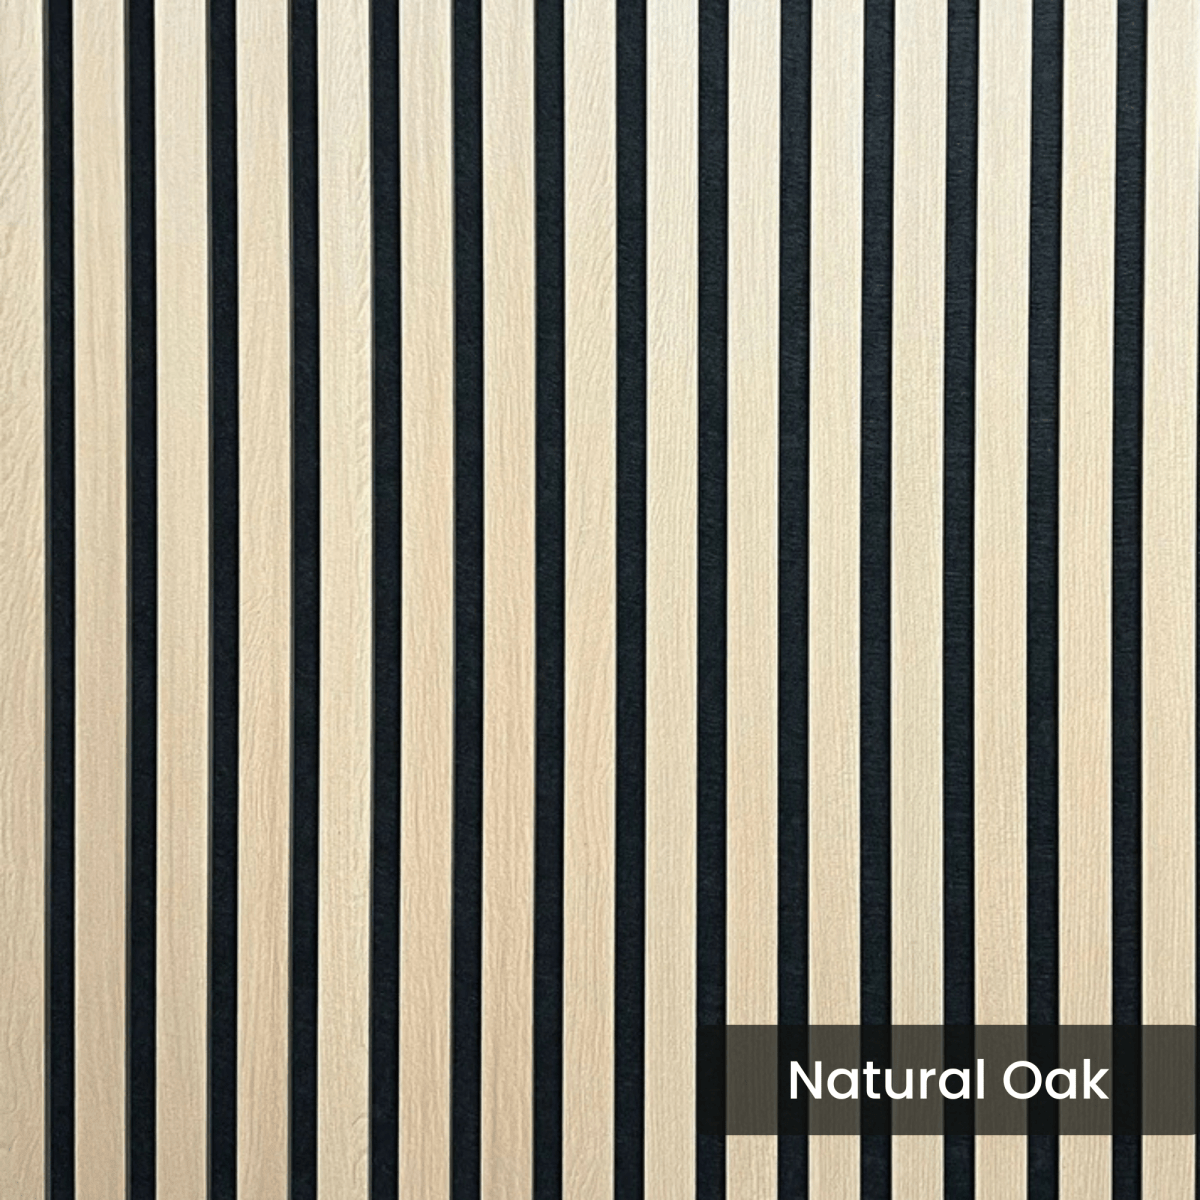
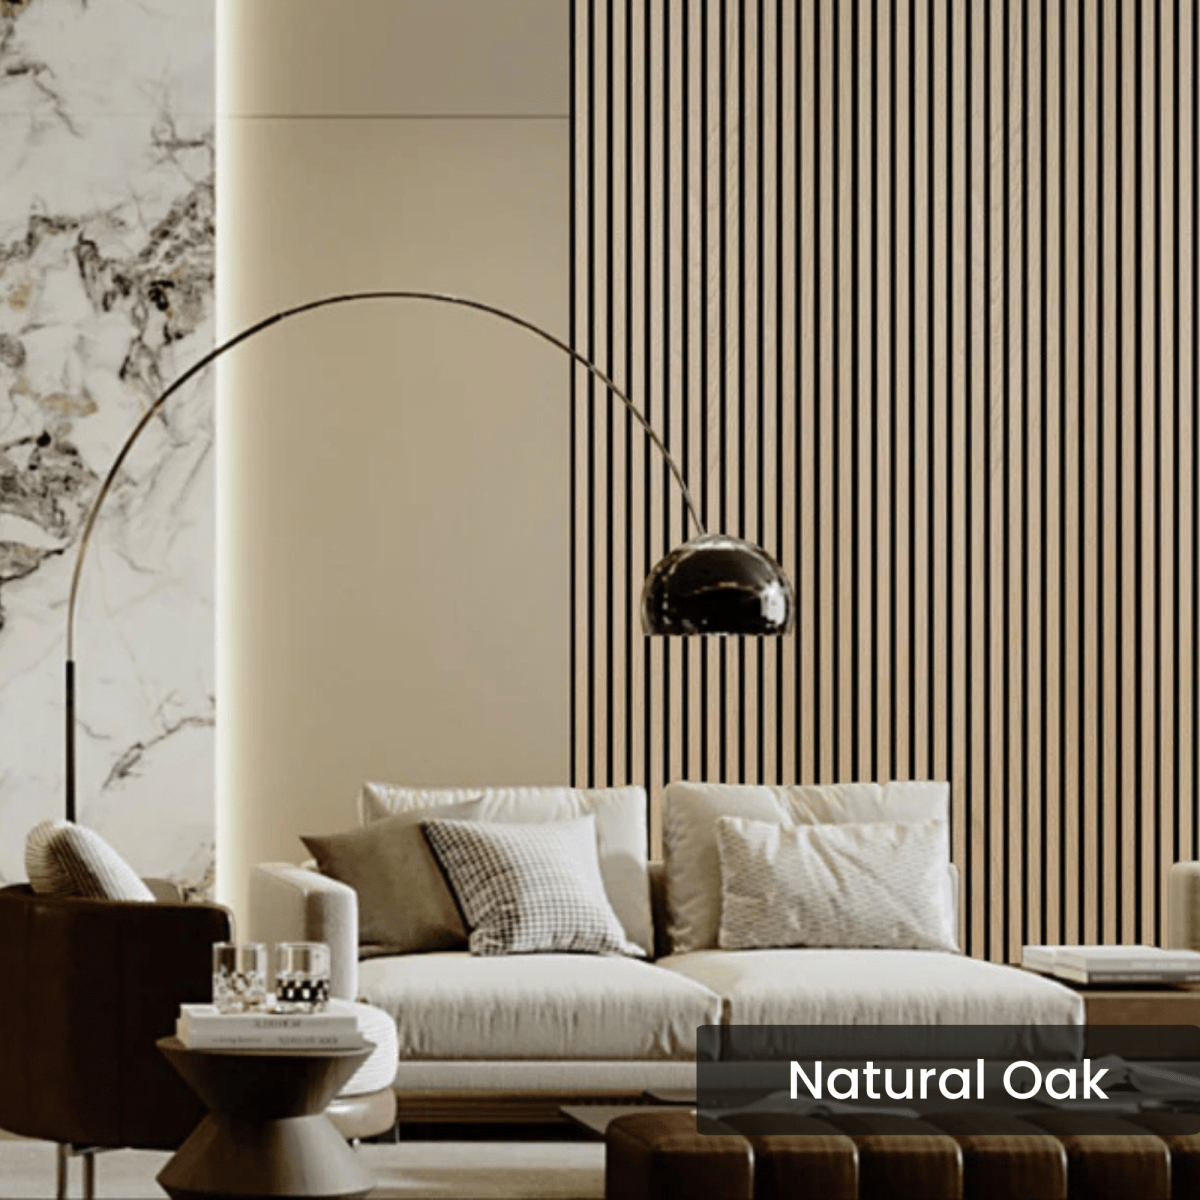
Natural Oak
Warm and easy to pair with neutrals.
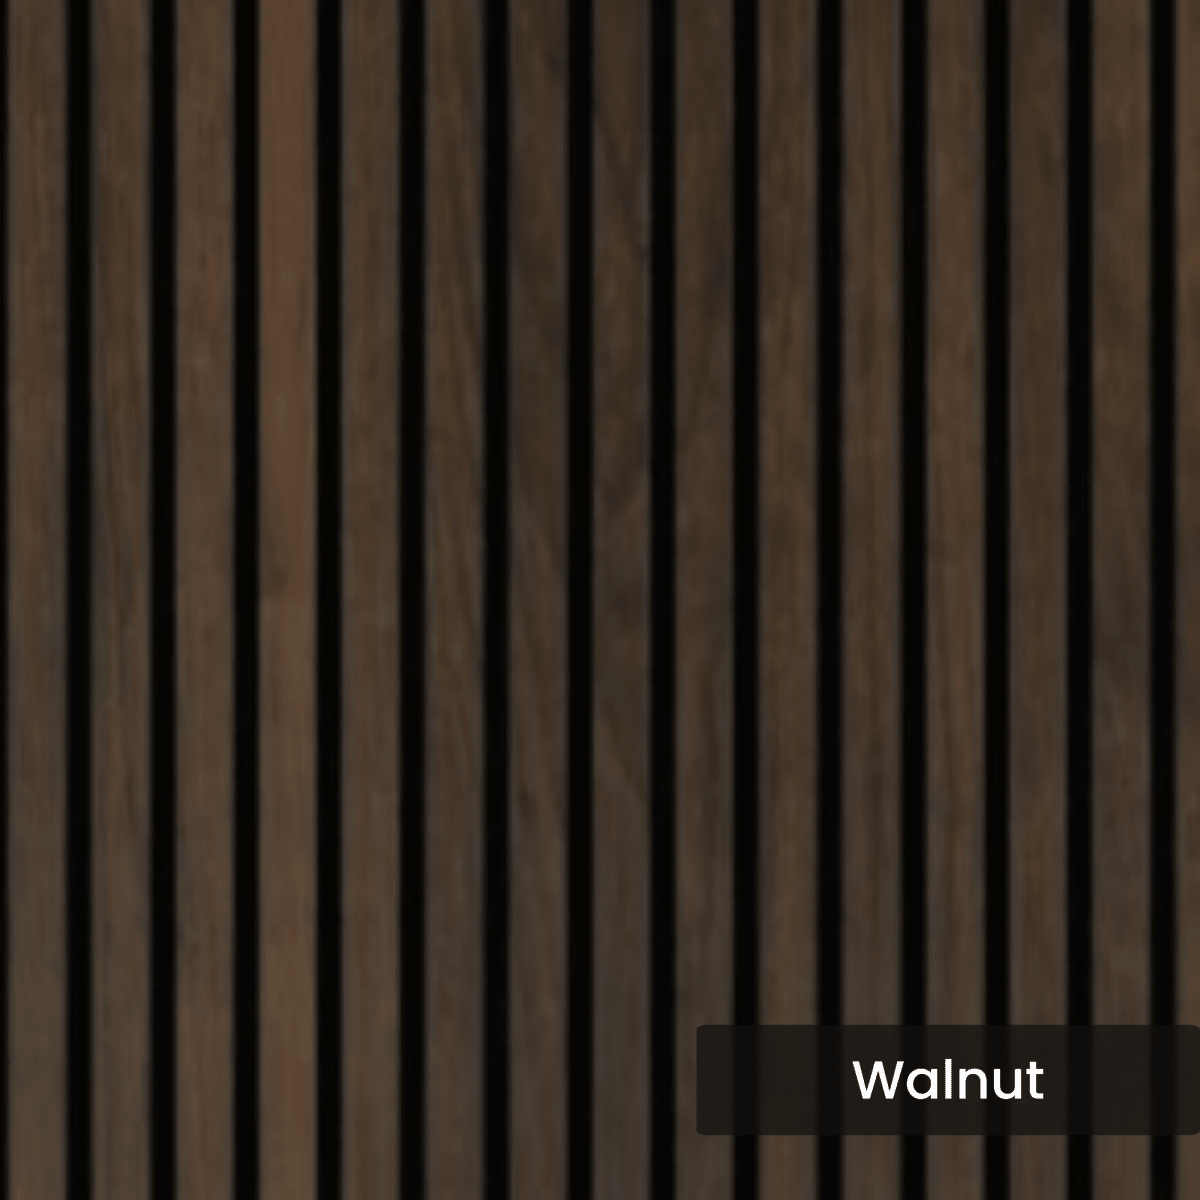
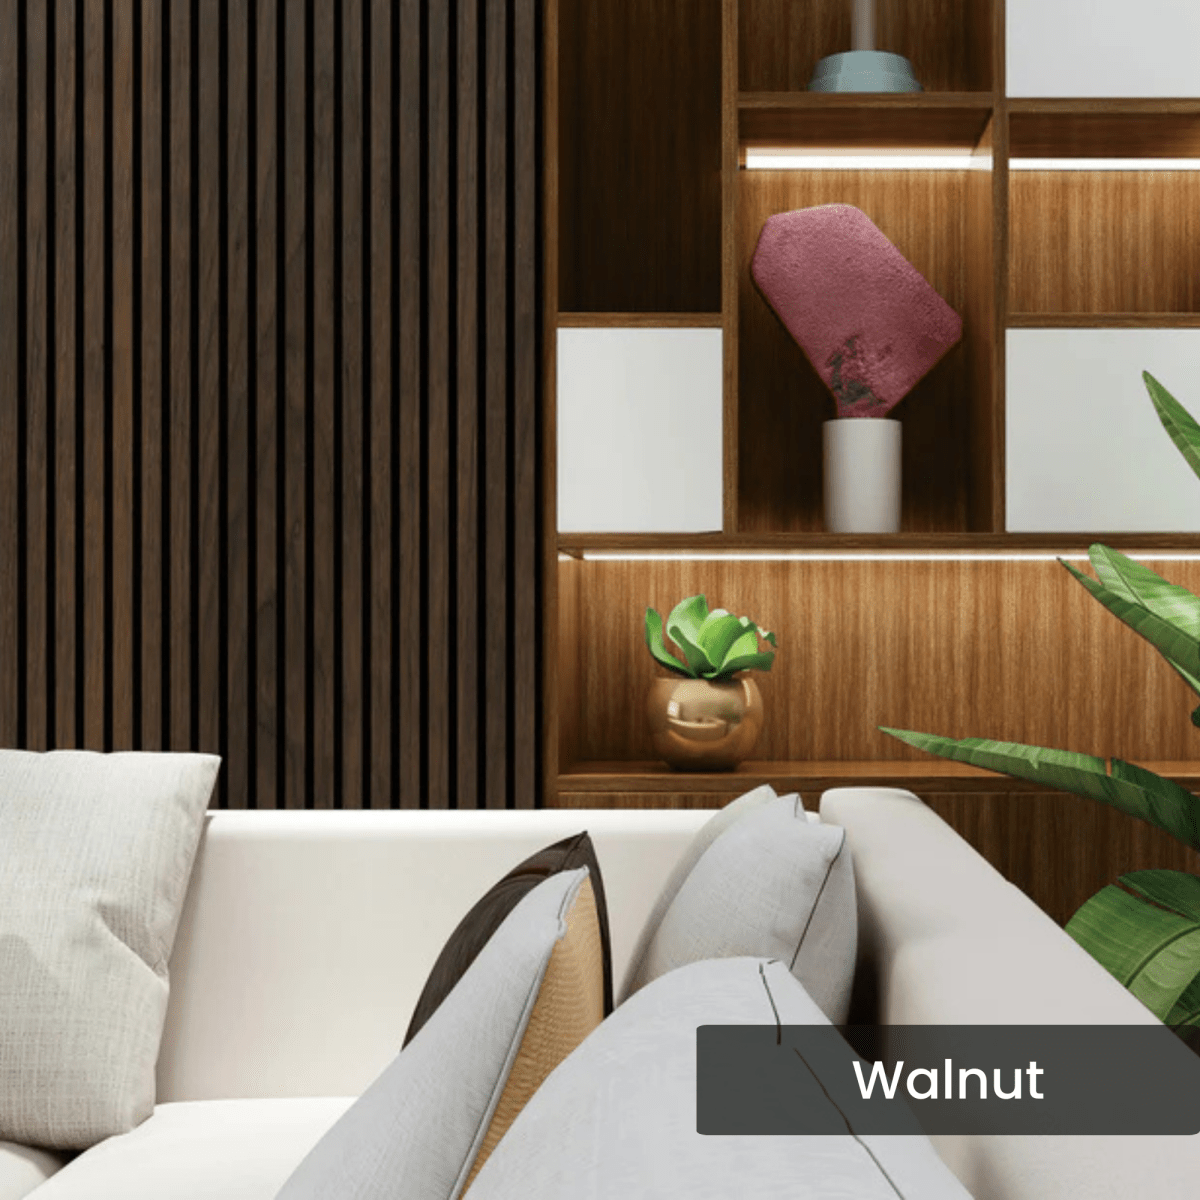
Walnut
Deeper timber colour with rich contrast.
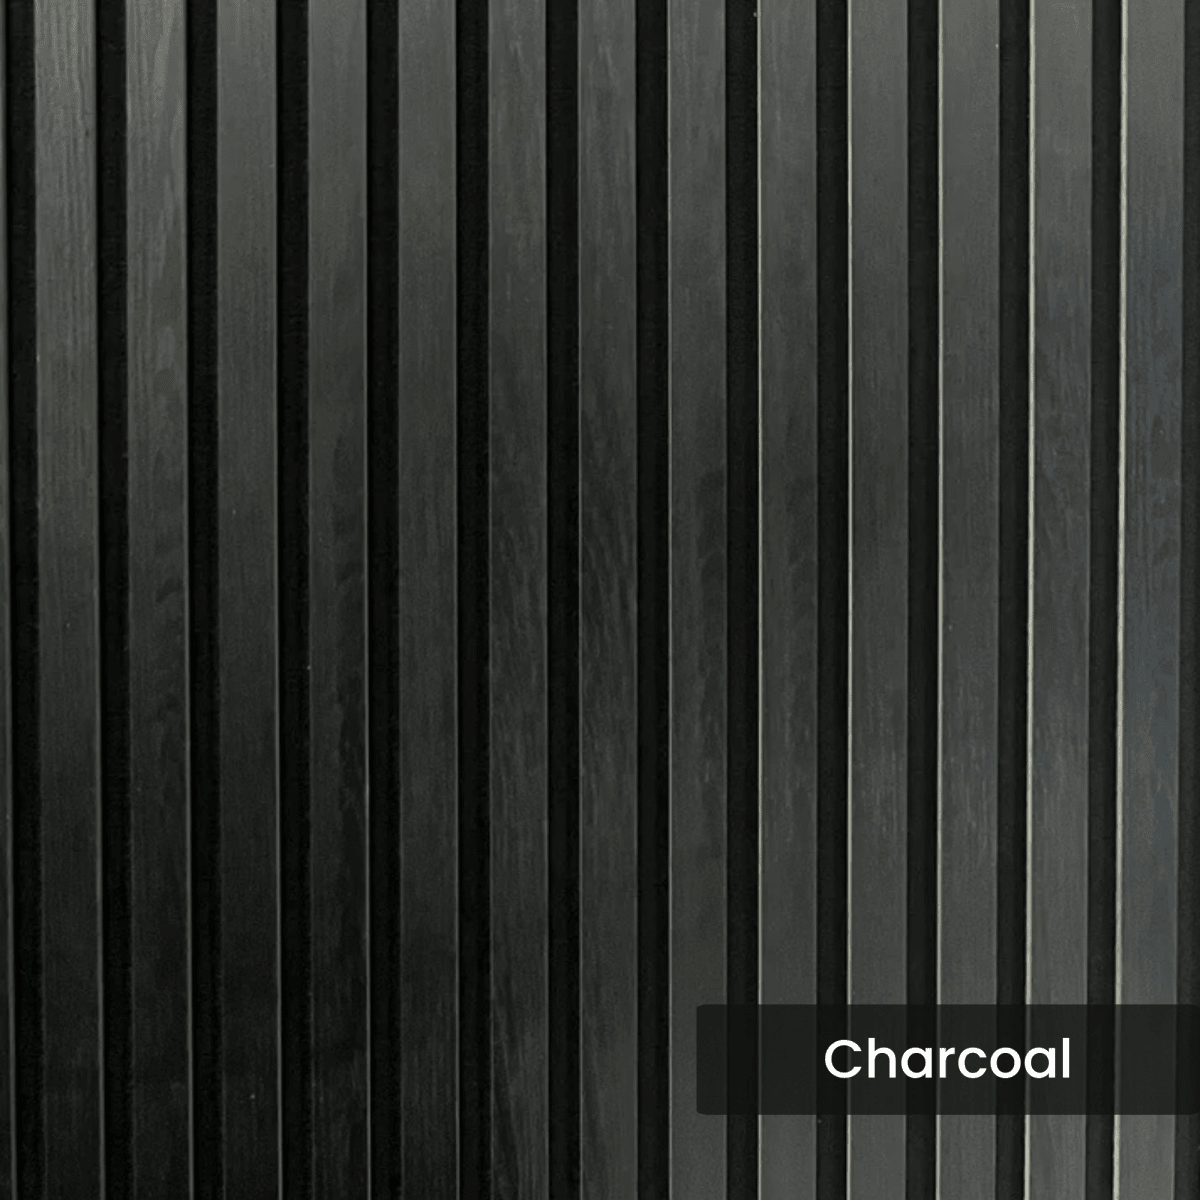
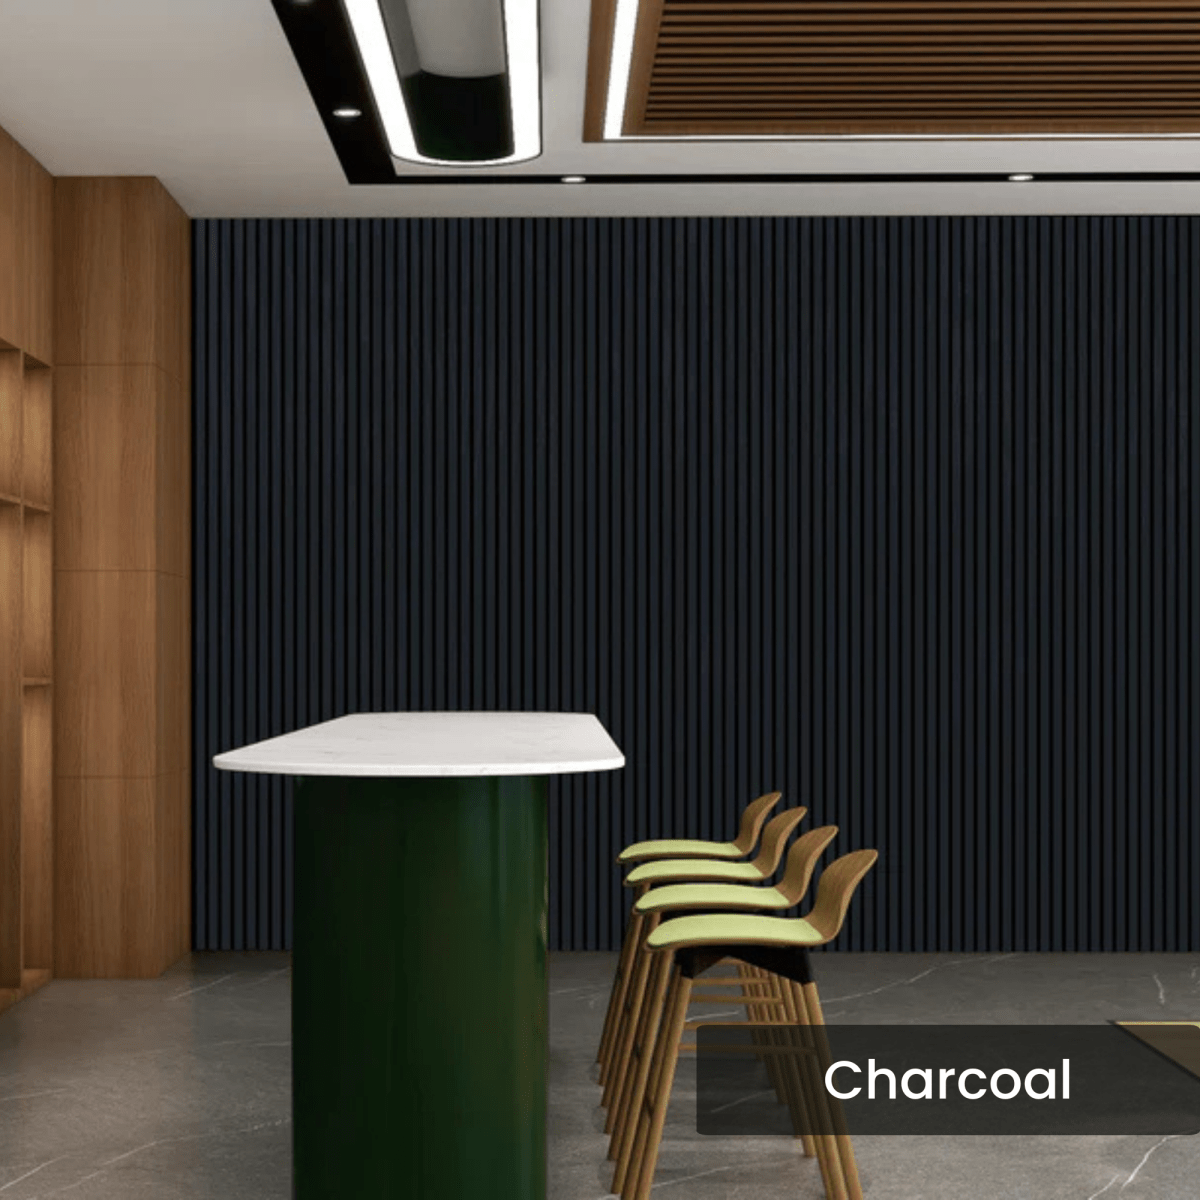
Charcoal
Dark and architectural for bolder schemes.
Acoustic performance
More than a decorative surface
The felt backing and slatted face help absorb reflected sound. When installed on battens with mineral-wool insulation, the system can achieve up to Class A under ISO 11654; actual performance depends on the complete installation and room conditions.
Installation
Made for straightforward fitting
- Measure the wall and plan panel positions before cutting.
- Cut panels with suitable tools and protect the veneer face.
- Fix directly to a sound wall or onto battens, depending on the finish and acoustic result required.
If you are unsure about the wall construction, services or fixings, use a competent installer.
Designed to work together
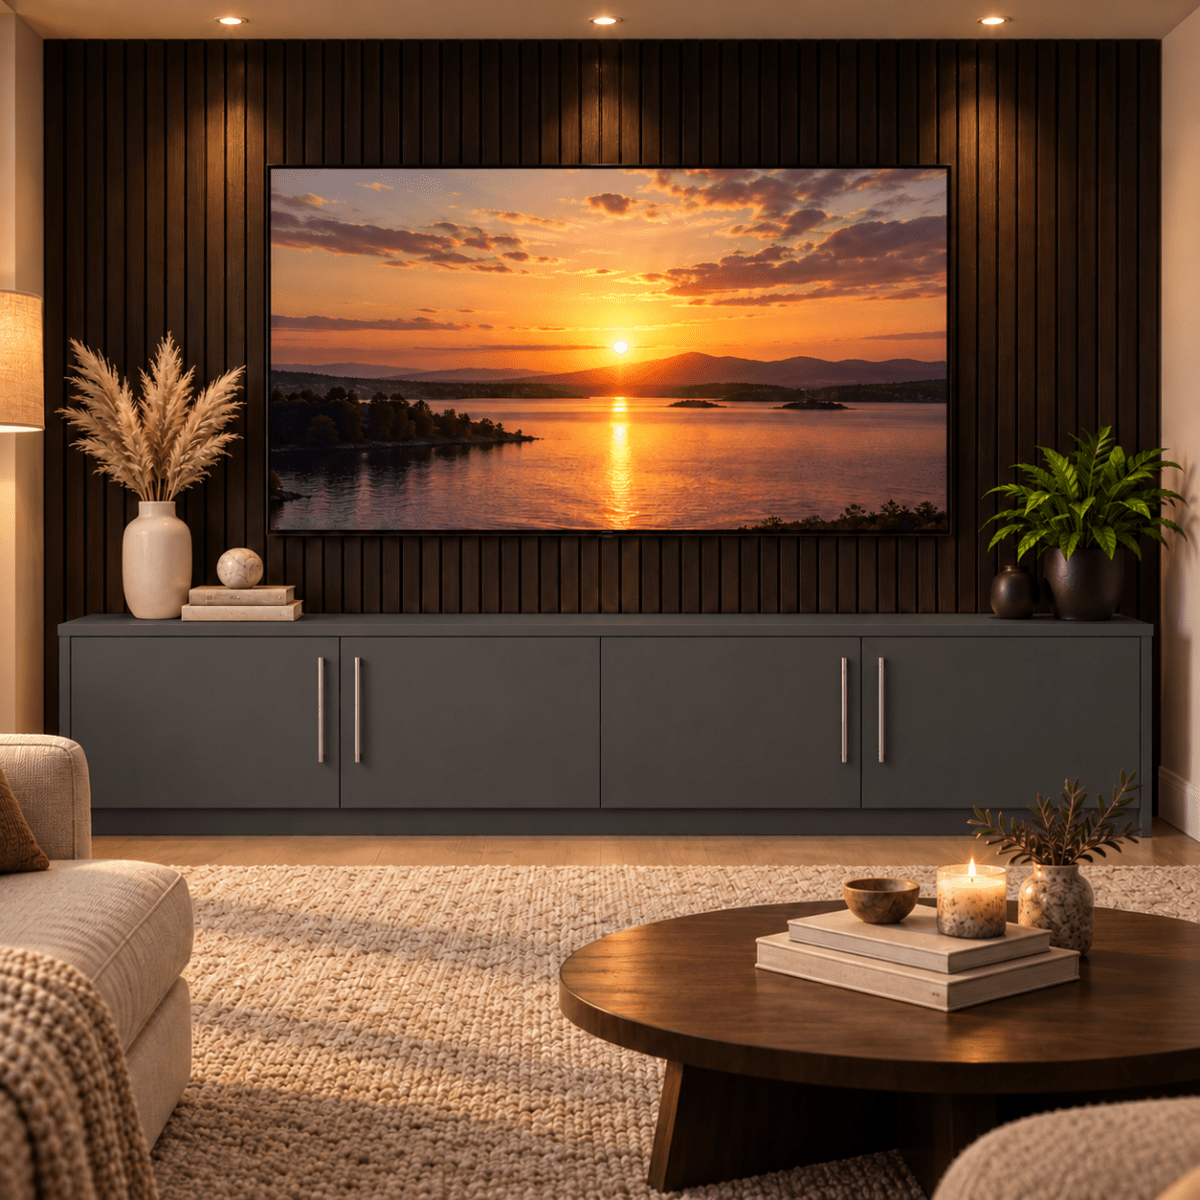
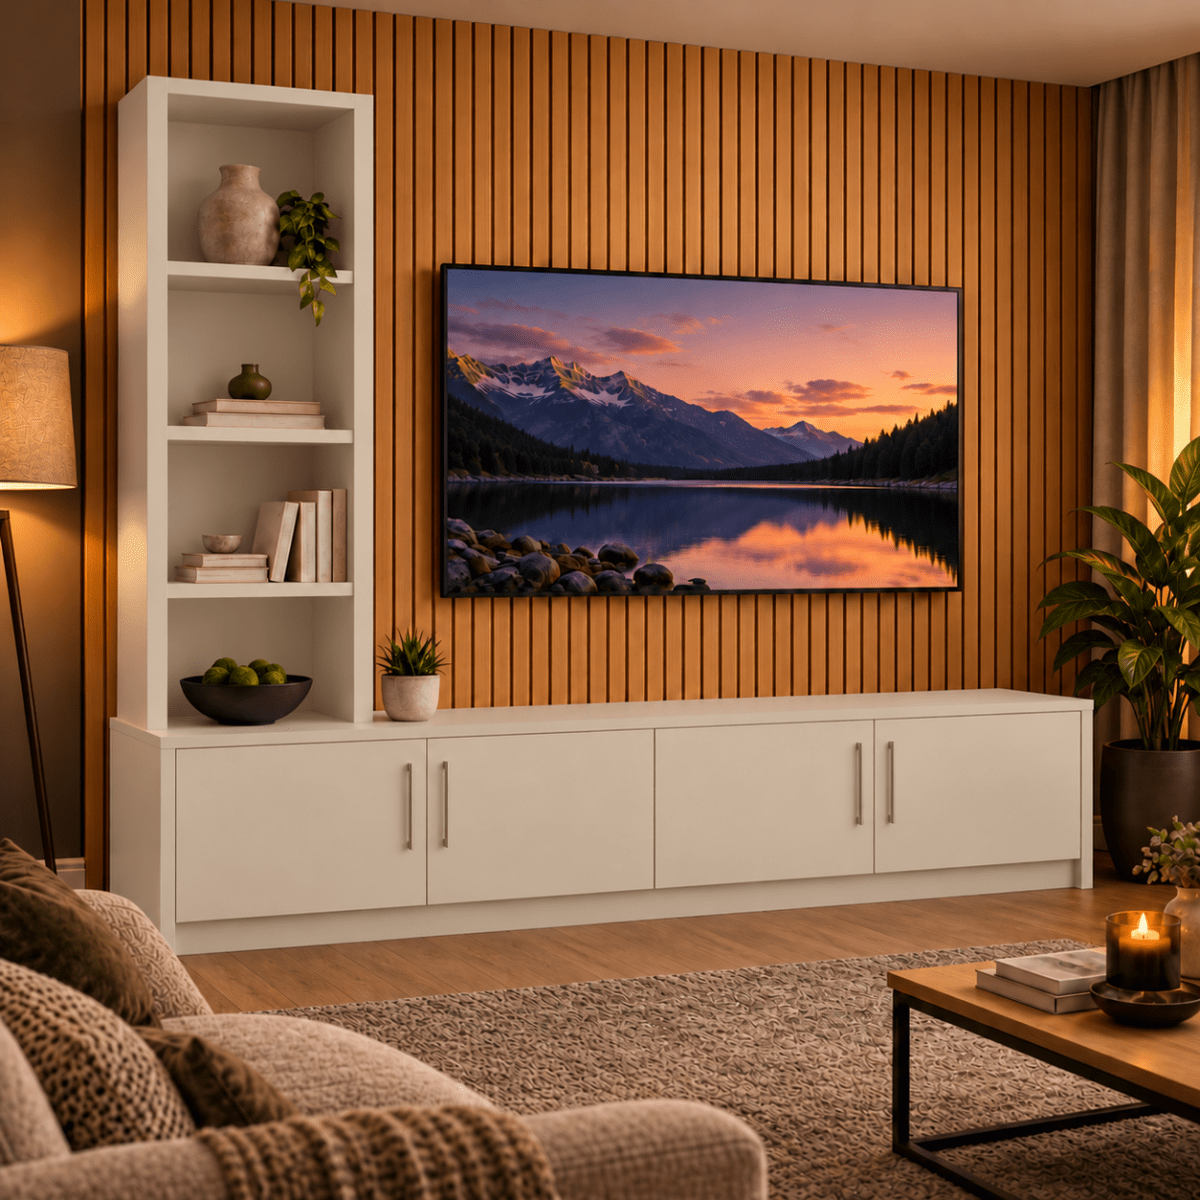
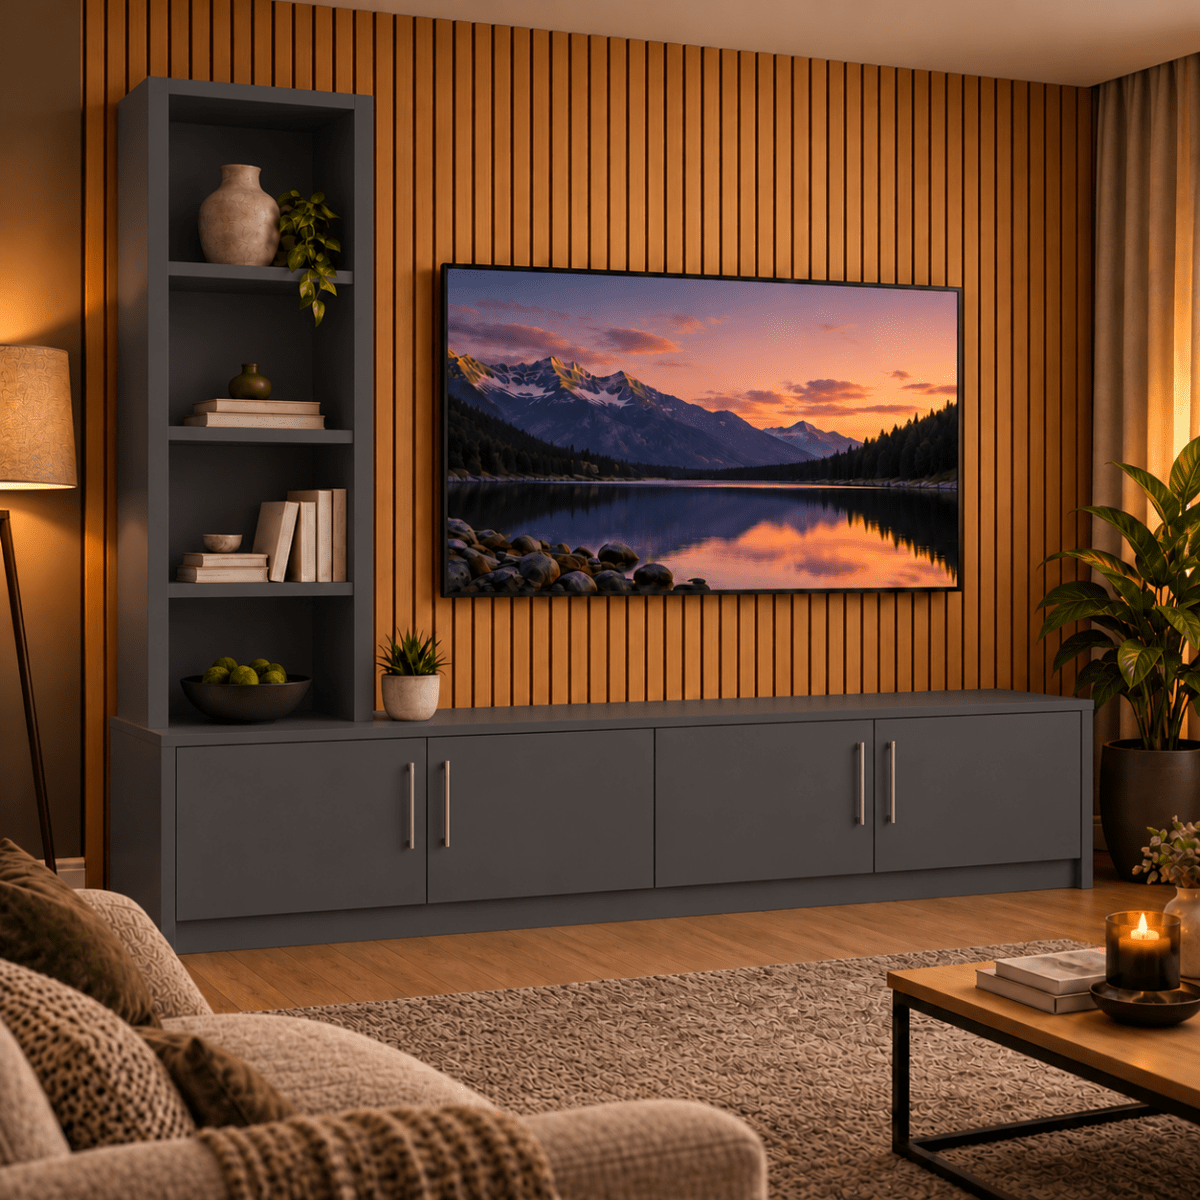
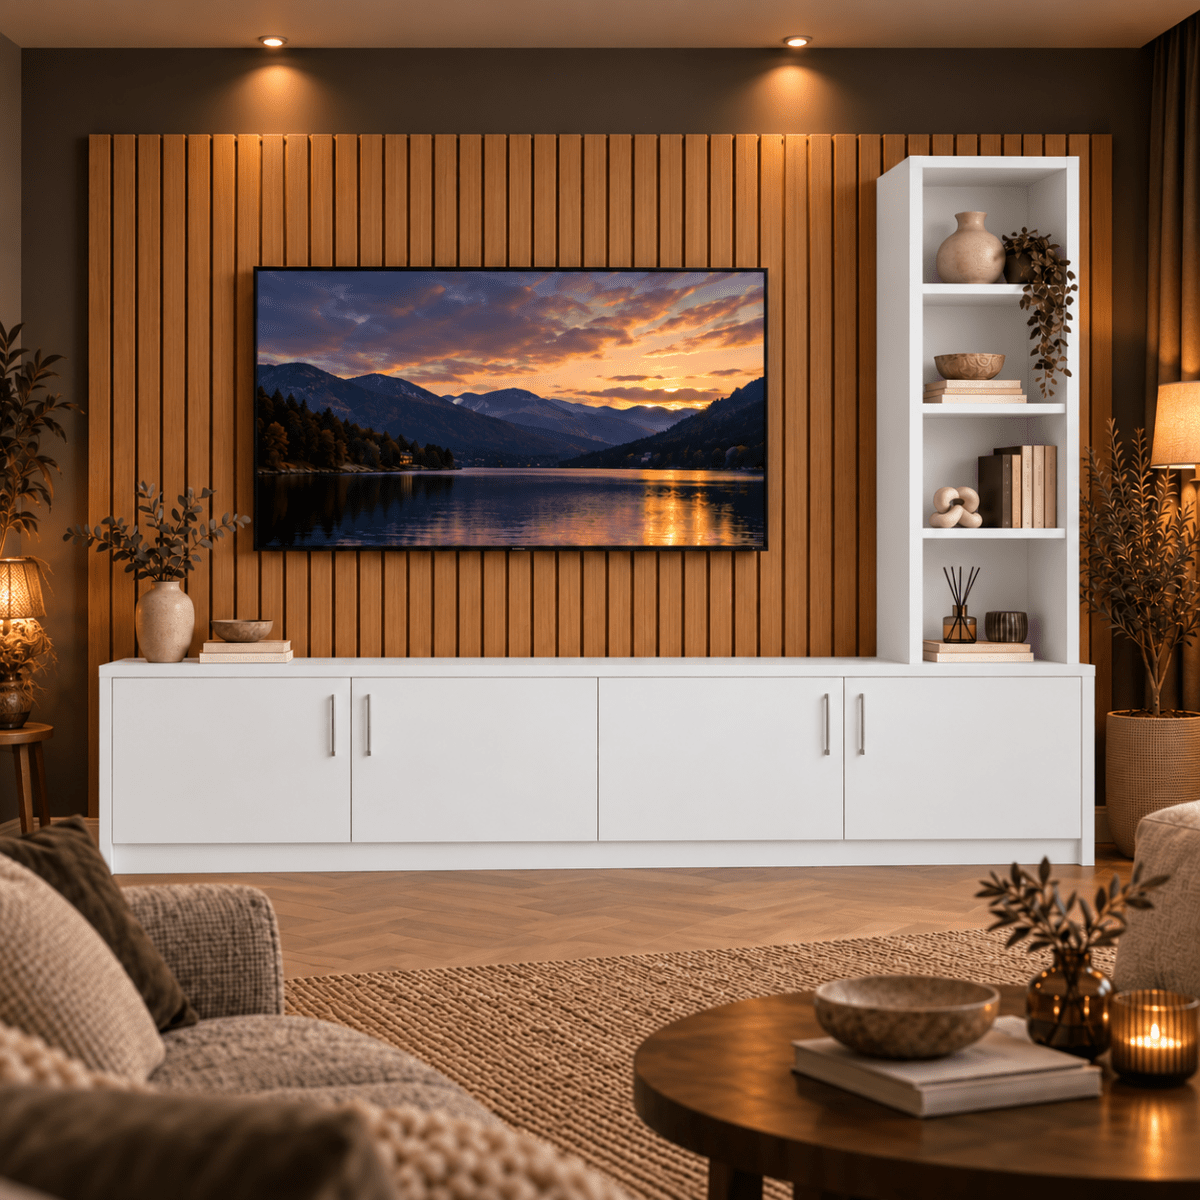
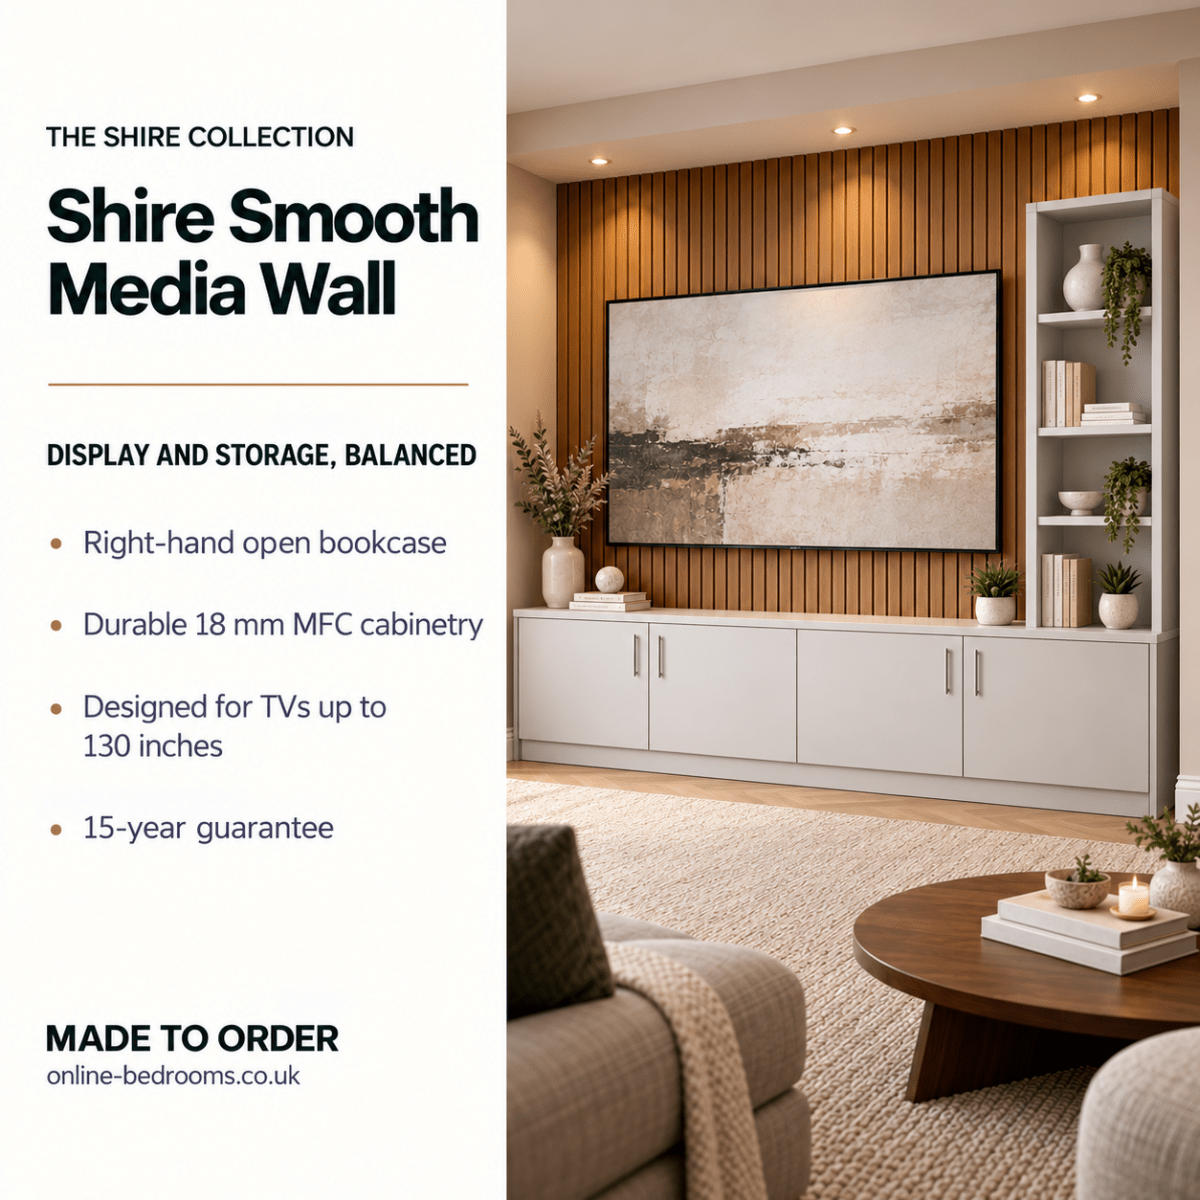
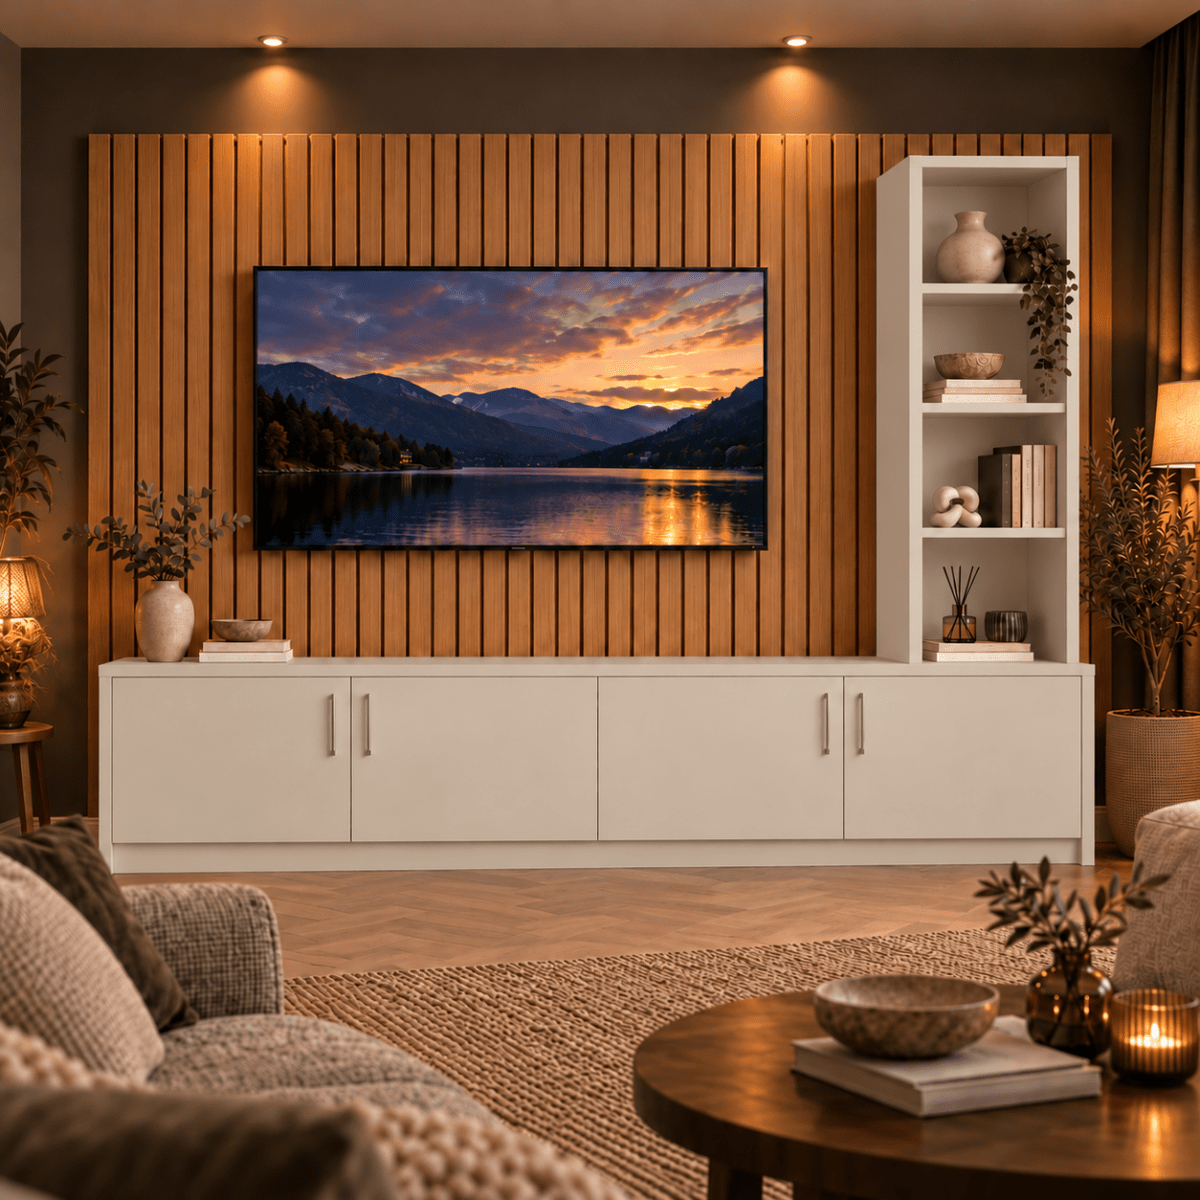
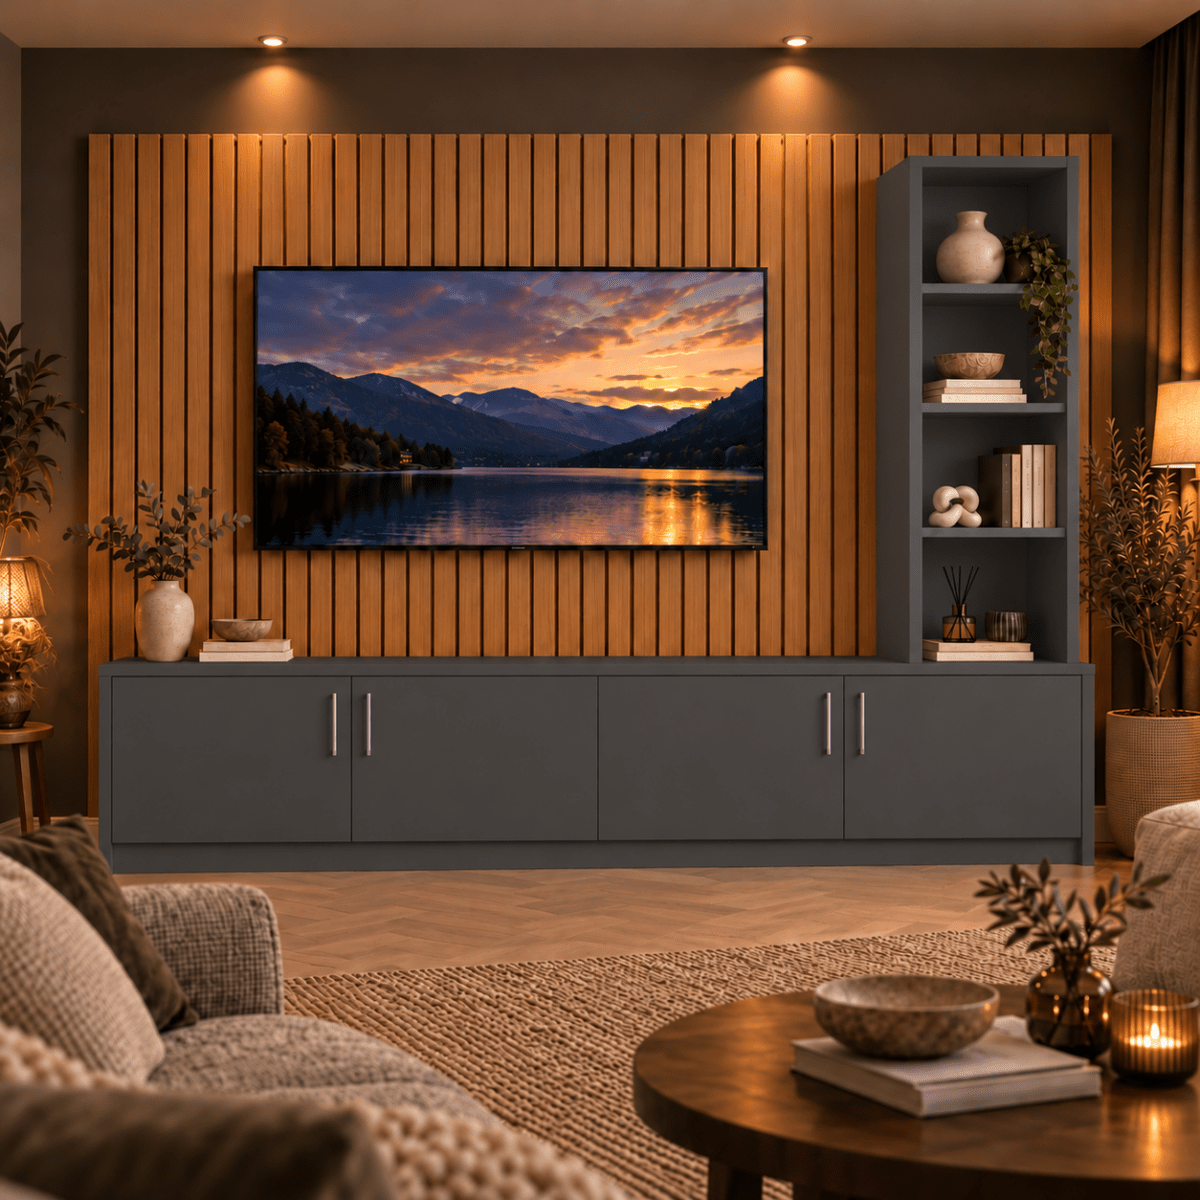
Complete your media wall
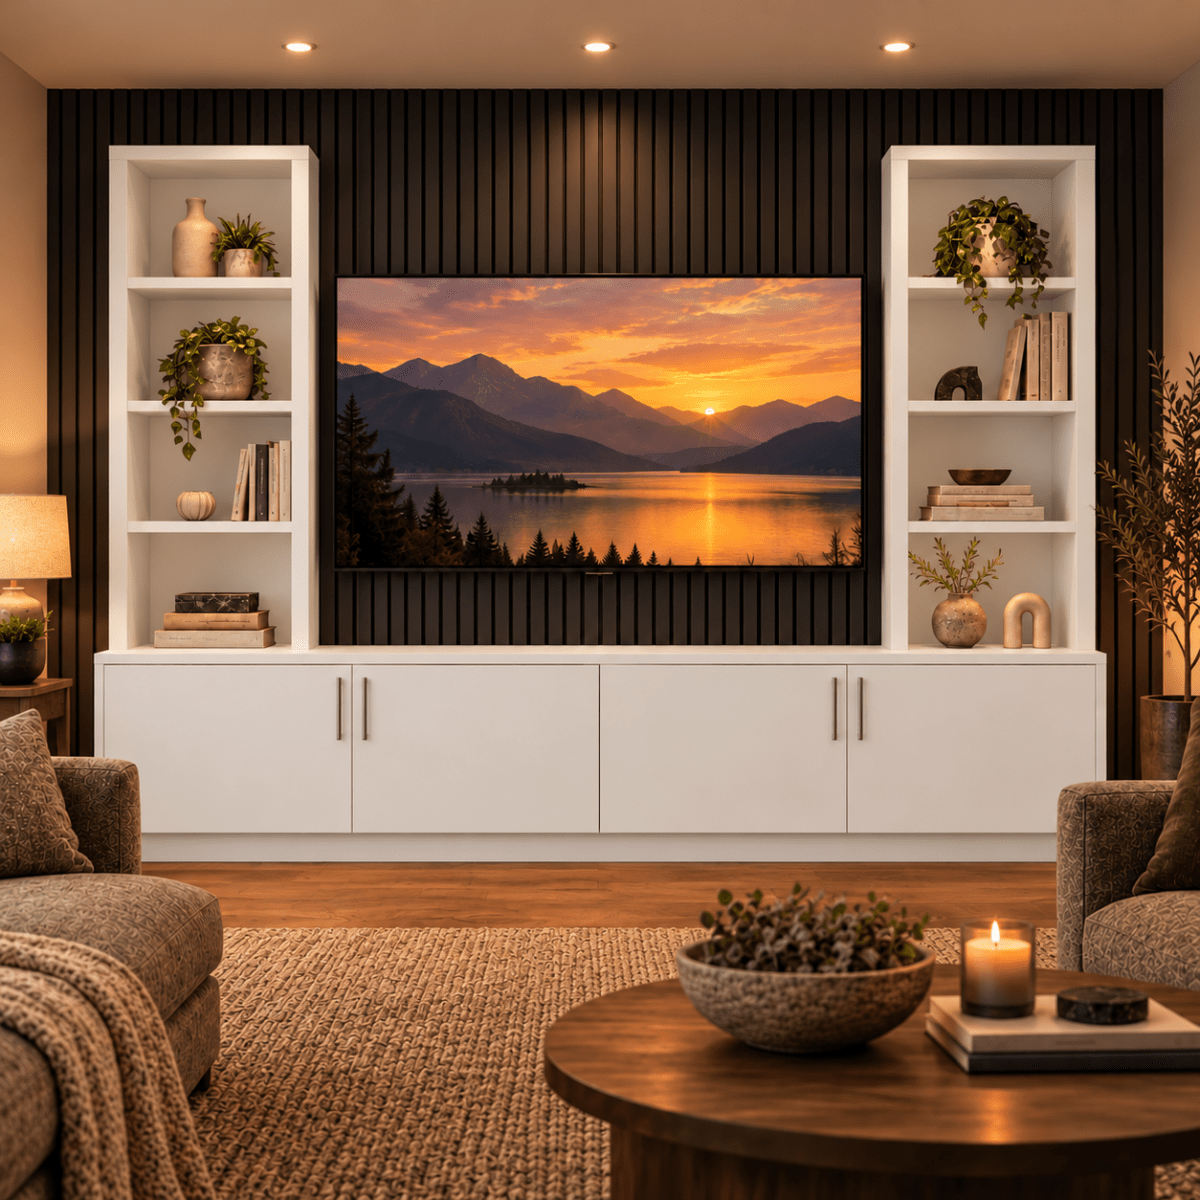
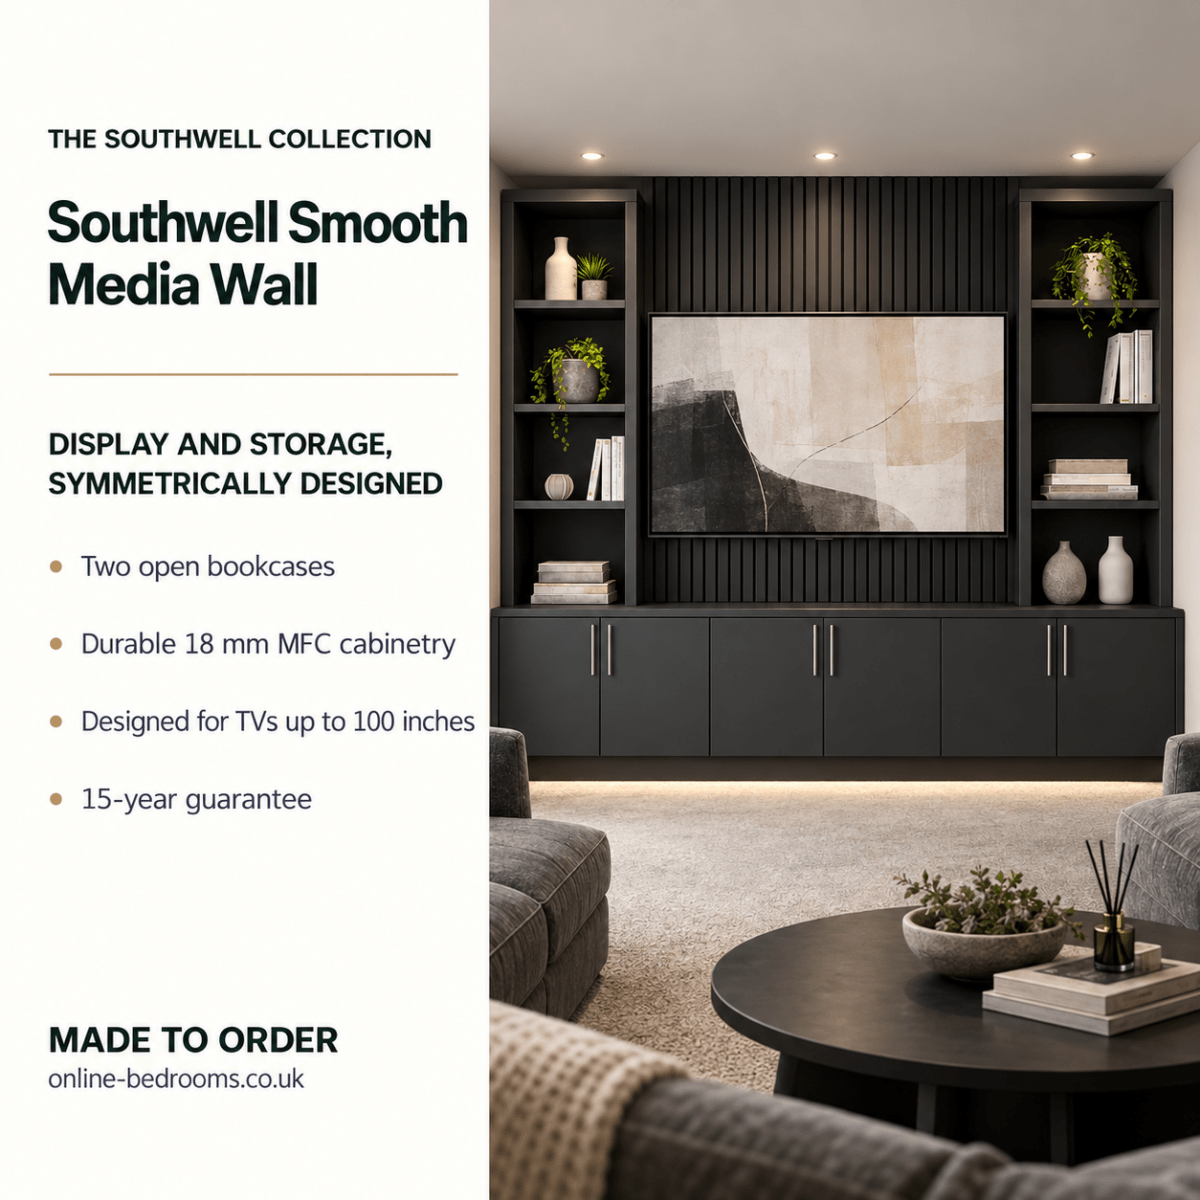
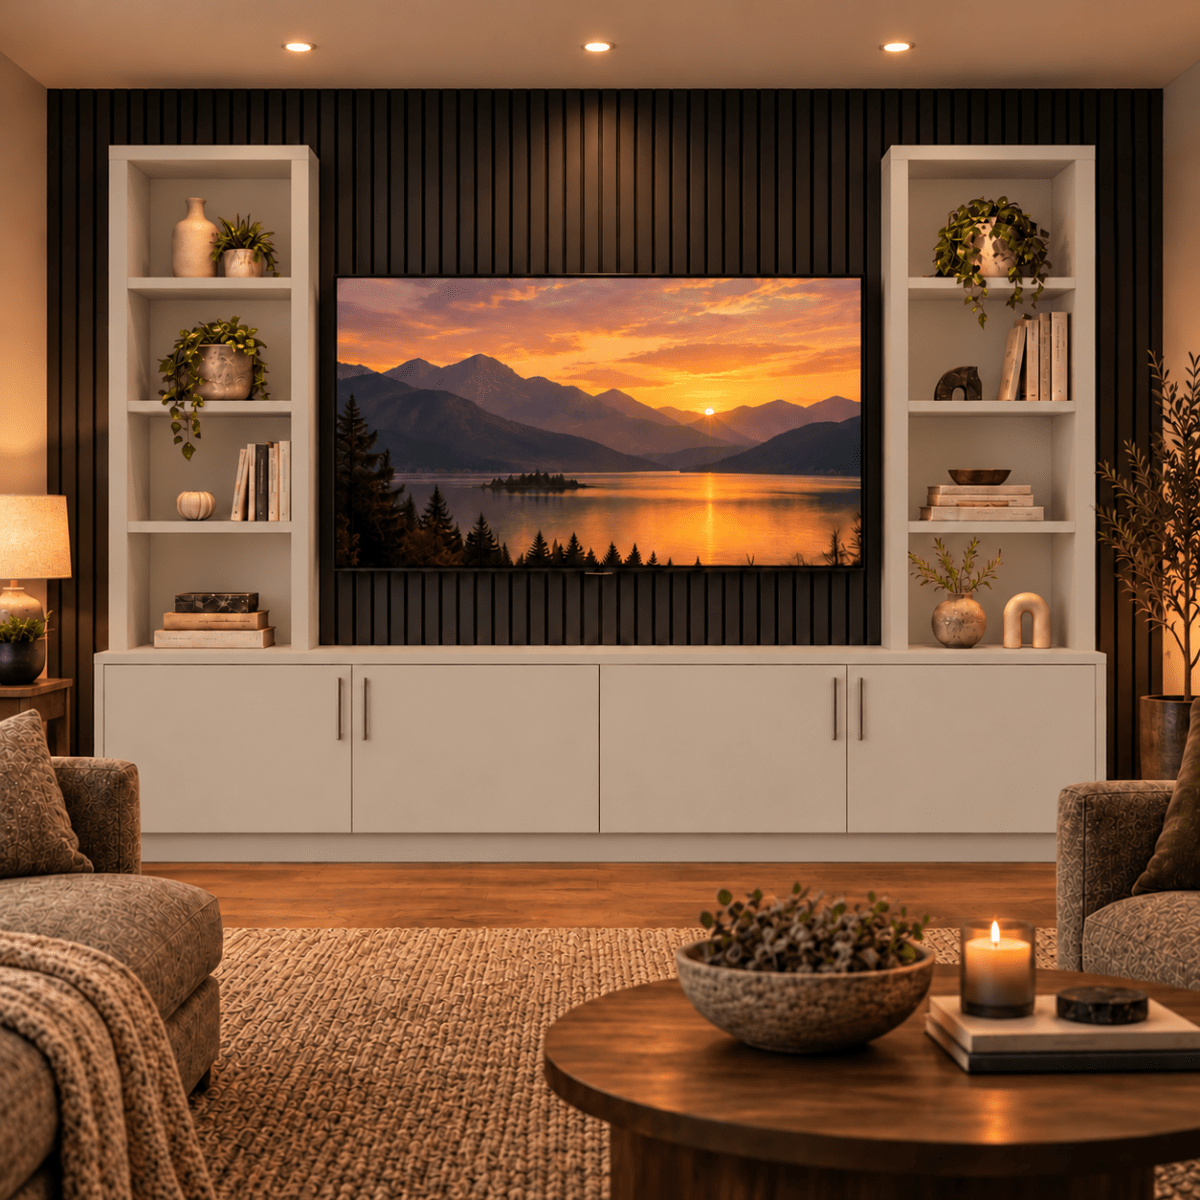
Pair the slatted wall finish with made-to-order media furniture for a more considered entertainment space.
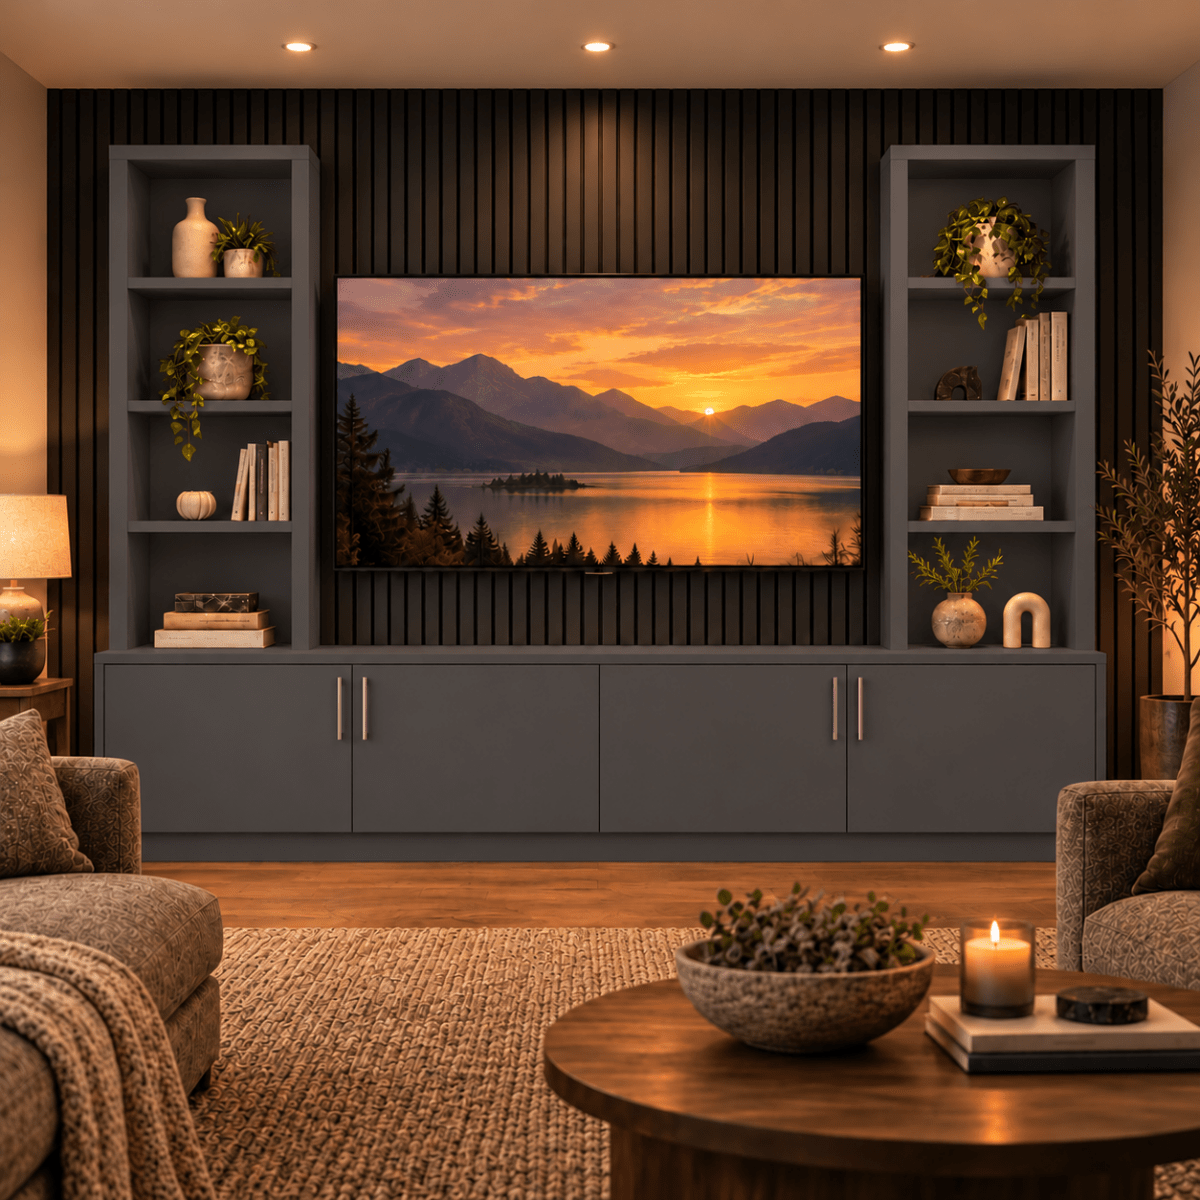
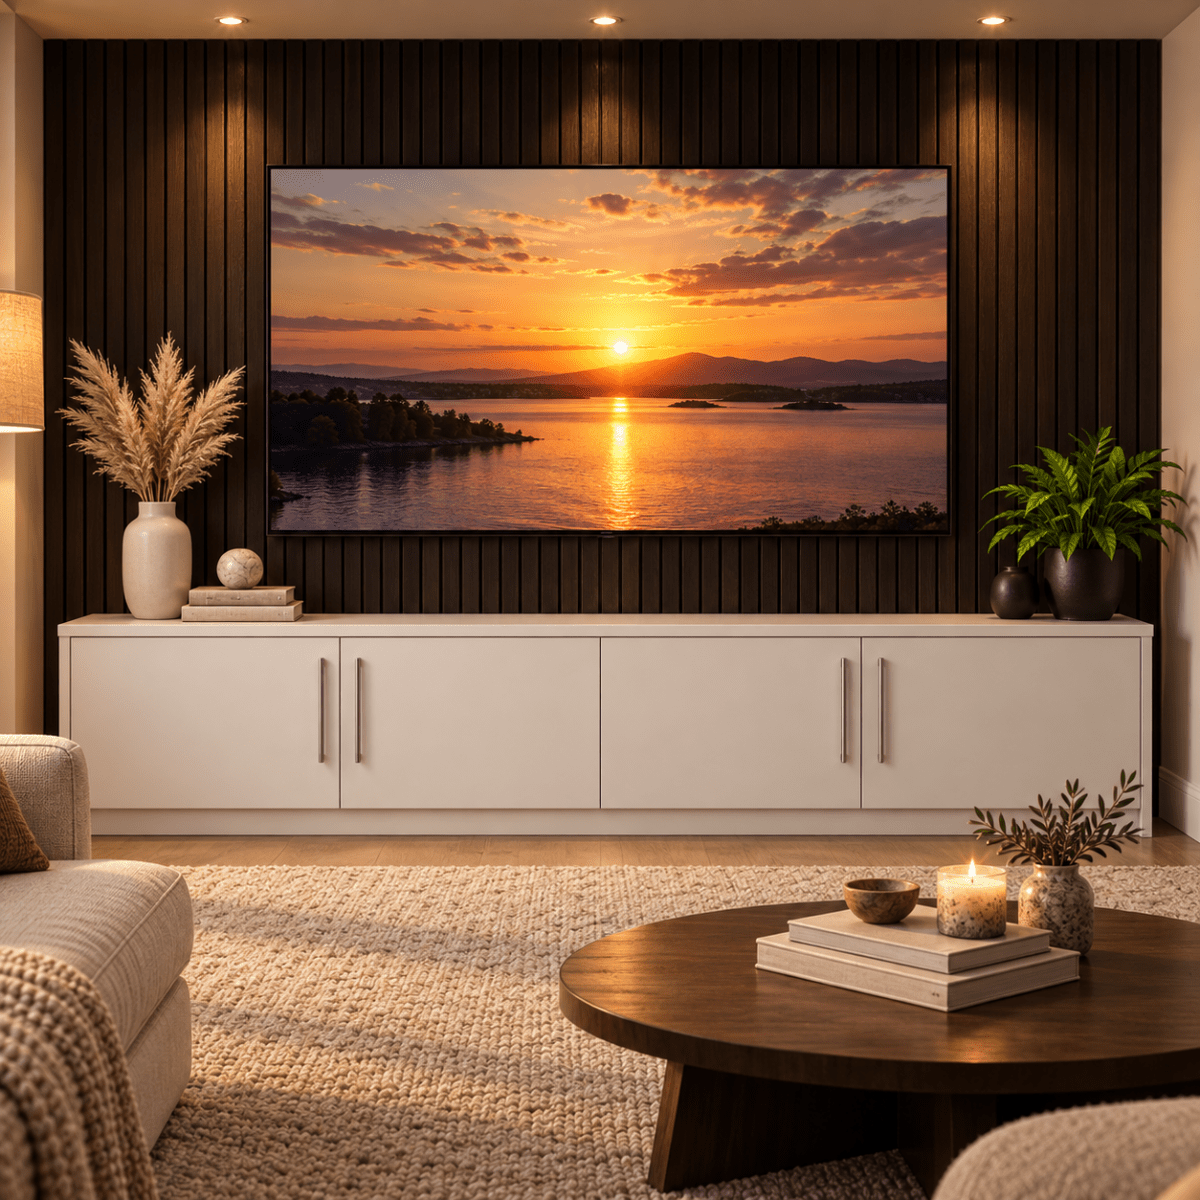
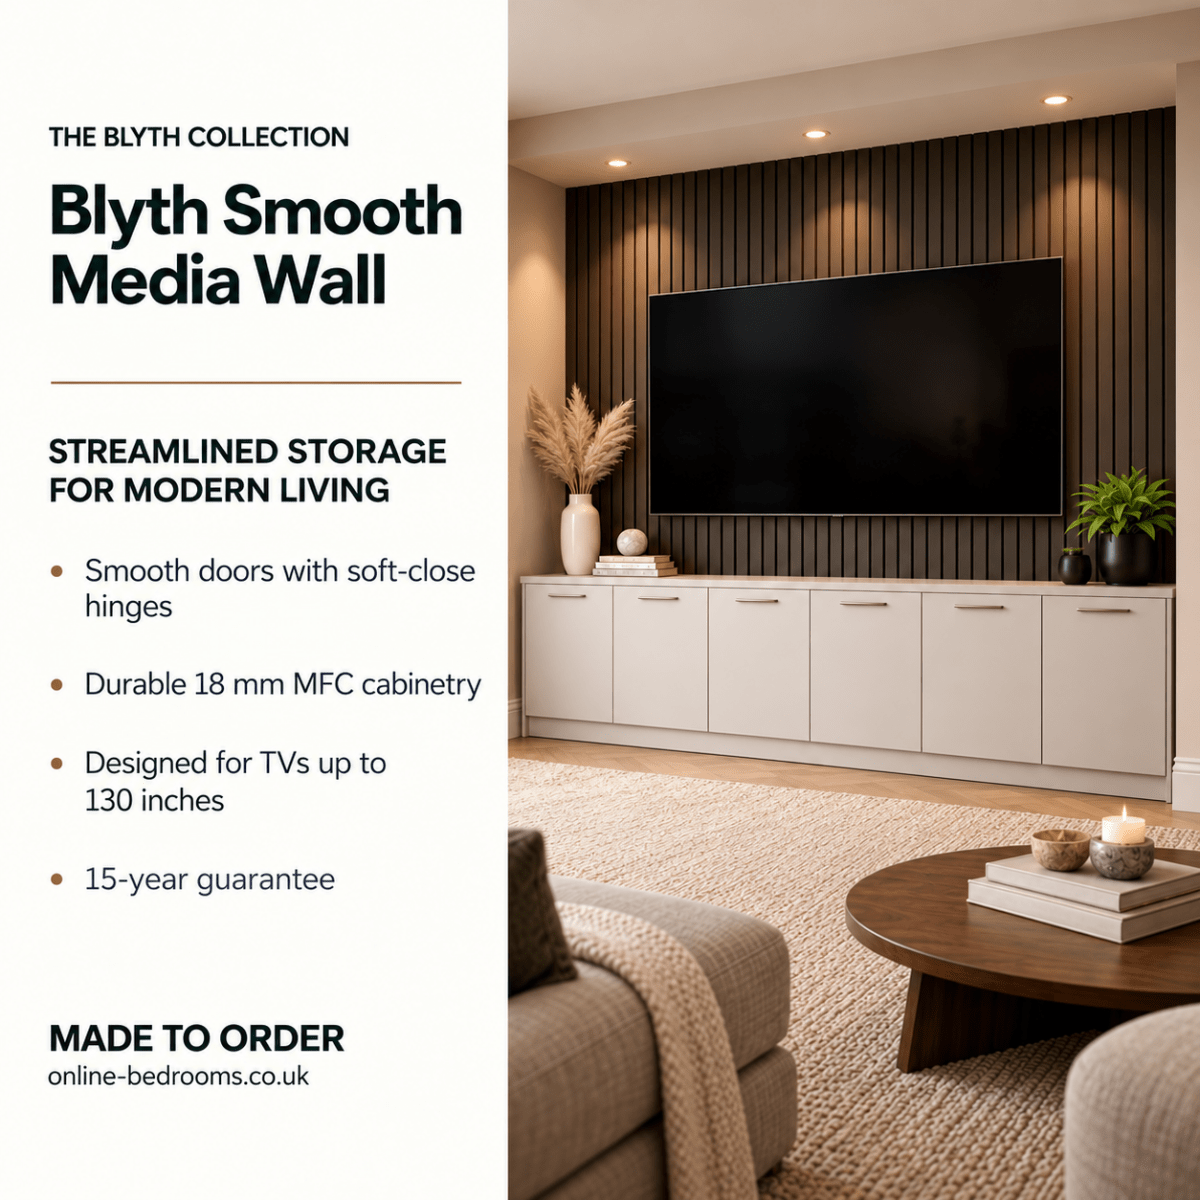
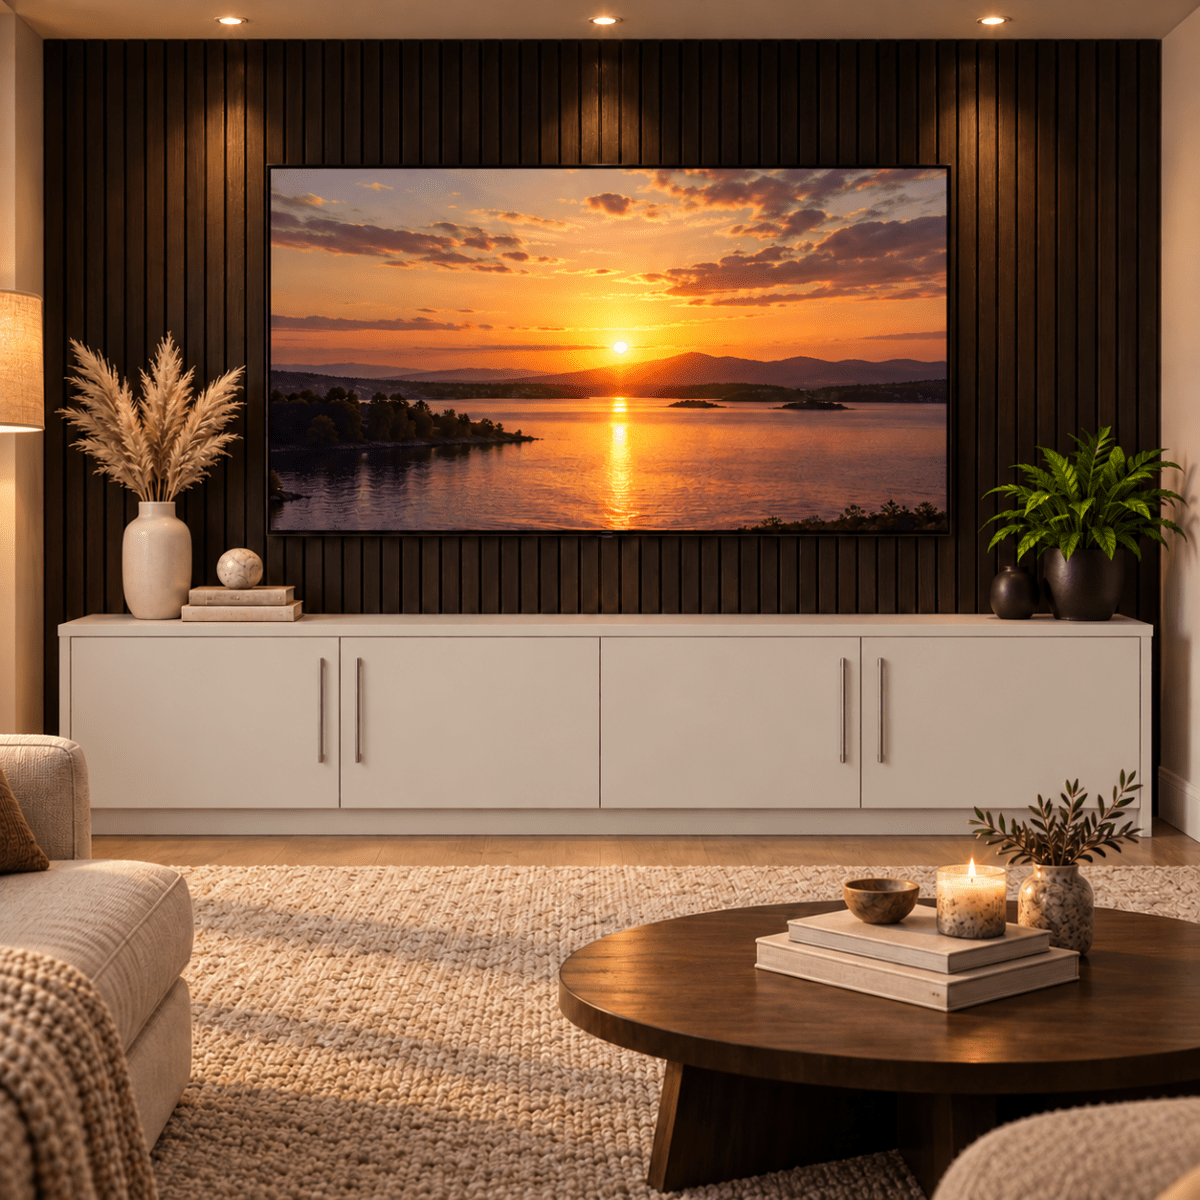


Looks amazing
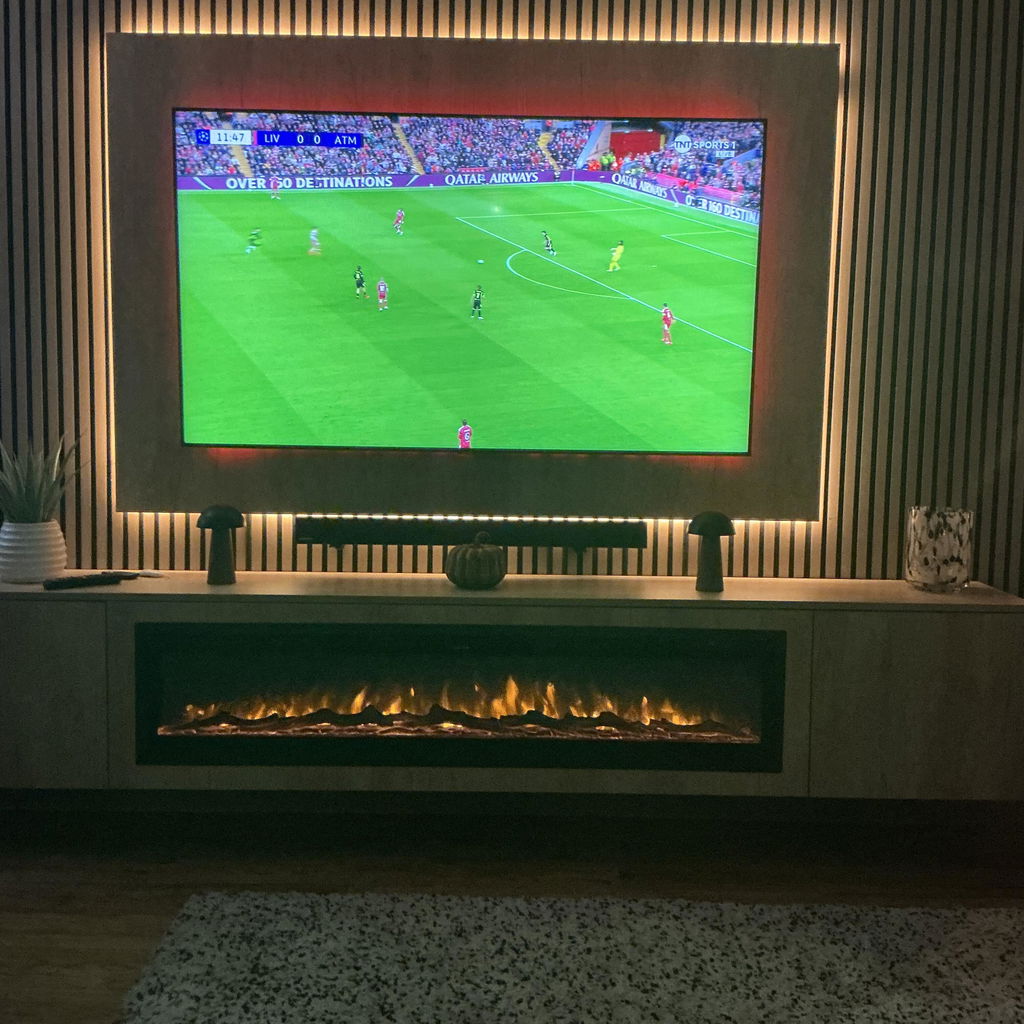
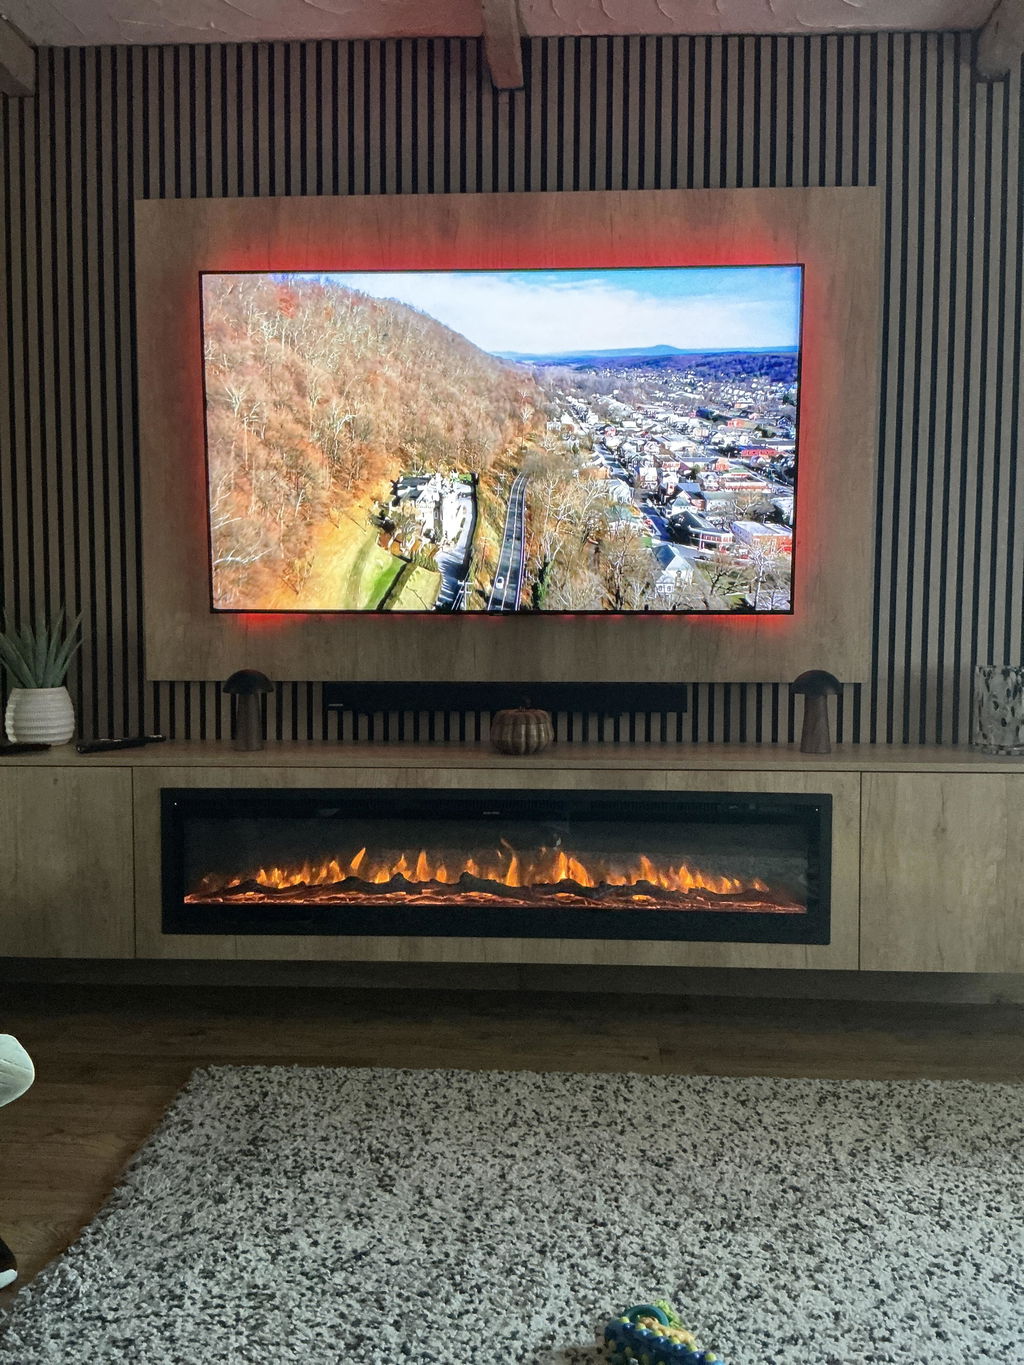
Thank you, Catherine! So happy to hear the acoustic panels look amazing in your home.
Great
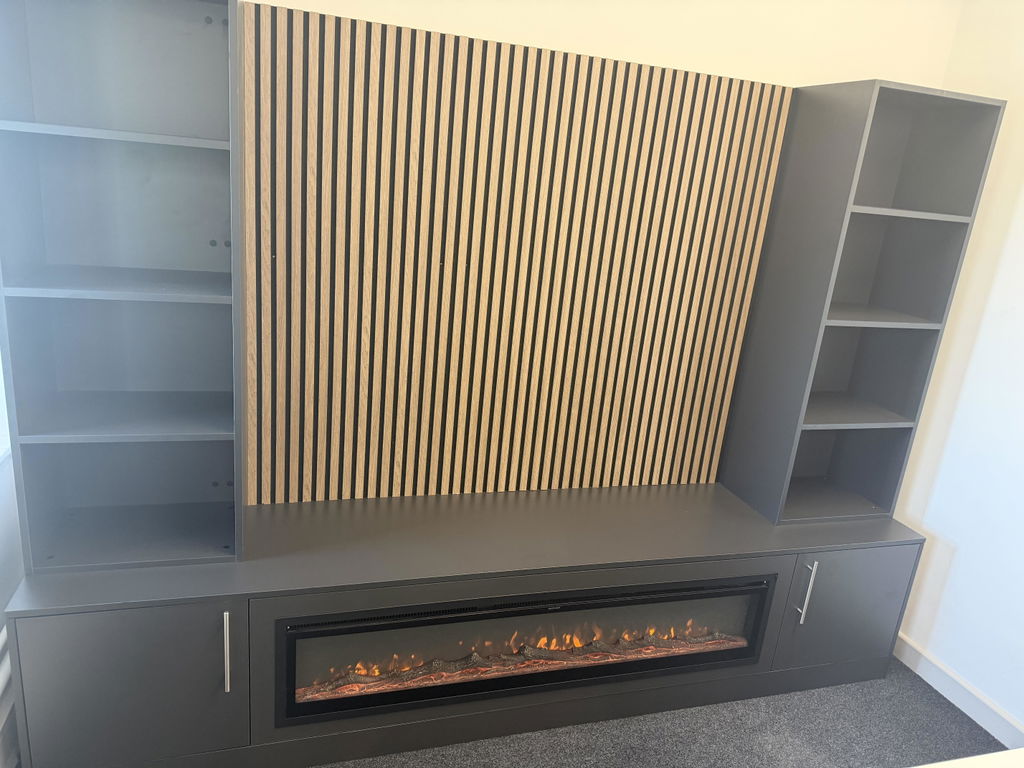
Easy to cut and install
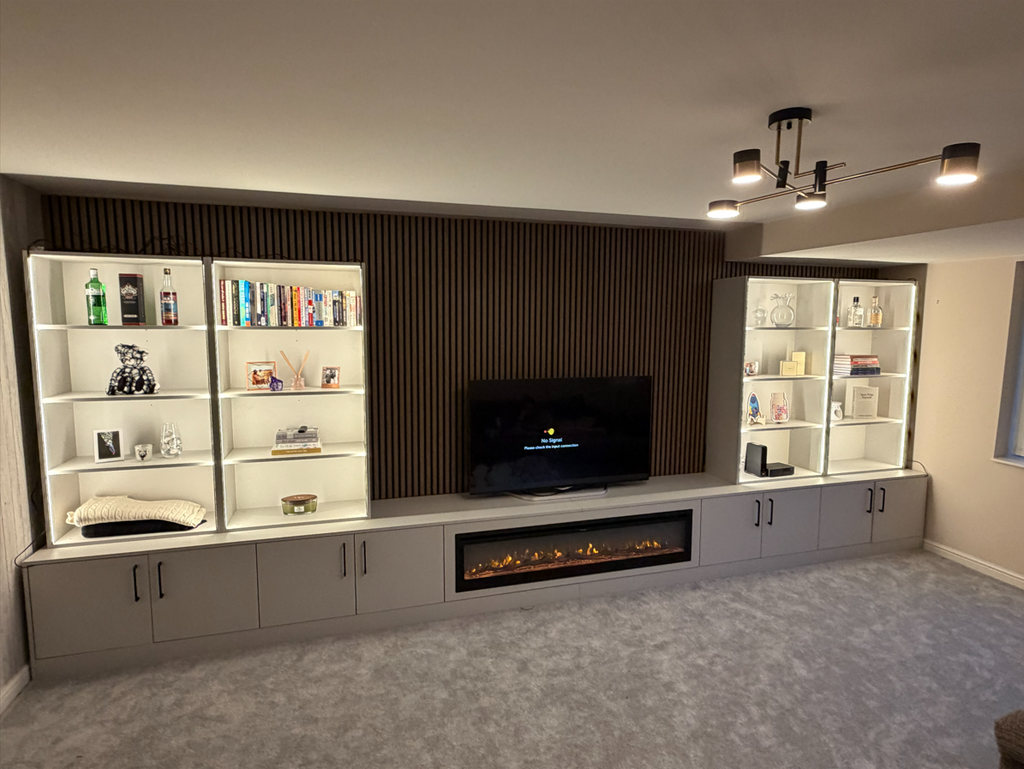
Very satisfied with product all fitted together well,
Also impressed with customer service when I needed help with assembly very helpful.
I would purchase from this company again..
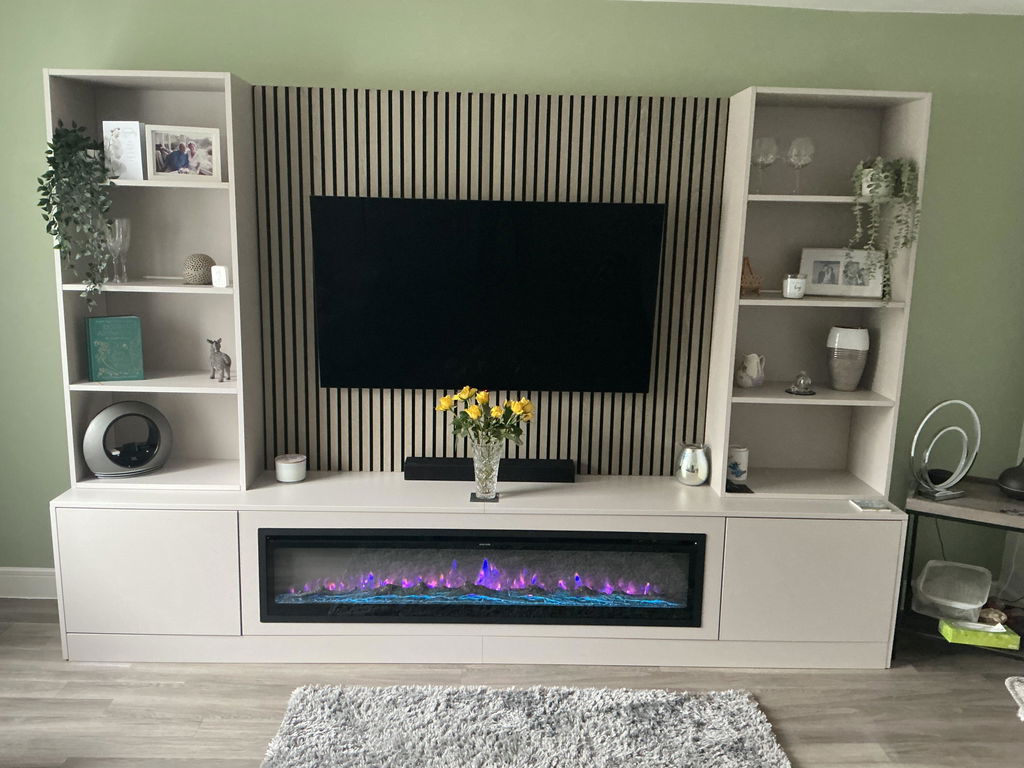
Good quality product and excellent service.
Great quality product.
Bought 3 after buying a media wall and it just makes it look so much better. Easier to cut to size than I imagined aswell
I am interested in a media wall including the back panels. How do the back panels fit around the tv wall bracket? Do you attach the wall bracket to the panels or do you need to cut the back panels around the wall bracket? Many thanks. David
Hello. It is recommended to fit the TV bracket to the wall first, and then fit the acoustic panels around it. This is to ensure that the weight of the TV is supported fully by your wall.